Import & Export
Neatbase moves data in and out through CSV, the format every spreadsheet app can read and write. Import brings an existing spreadsheet into a notebook; export takes a notebook or a single note back out, as CSV or as plain text.
The two flows are designed to match, so a round trip — export, edit in a spreadsheet, import back — keeps your data intact. See Tips for what survives the trip and what doesn't.
Importing
Bring existing data into Neatbase from a CSV file. Useful when you're migrating from a spreadsheet, another notes app, or any tool that can export to CSV.
How to Import
- Open the notebook you want to import into.
- Click the ⋯ (More) menu in the toolbar and choose Import….
- Pick a
.csv(or.txt) file in the file dialog. - The mapping screen appears. For each CSV column, choose what to do with it:
- Map to an existing field — for columns that match a field already in your notebook.
- Create a new field — give it a name and pick a type (Short Text, Number, Date, Tags, etc.). The new field is added to your notebook when you click Import.
- Don't import — skip the column.
- Click Next to see a preview of the first 10 rows, rendered with the field types you chose.
- Review the preview. If anything looks off, click Back to adjust the mapping.
- Click Import. Your new notes appear in the notebook, along with any new fields you created.
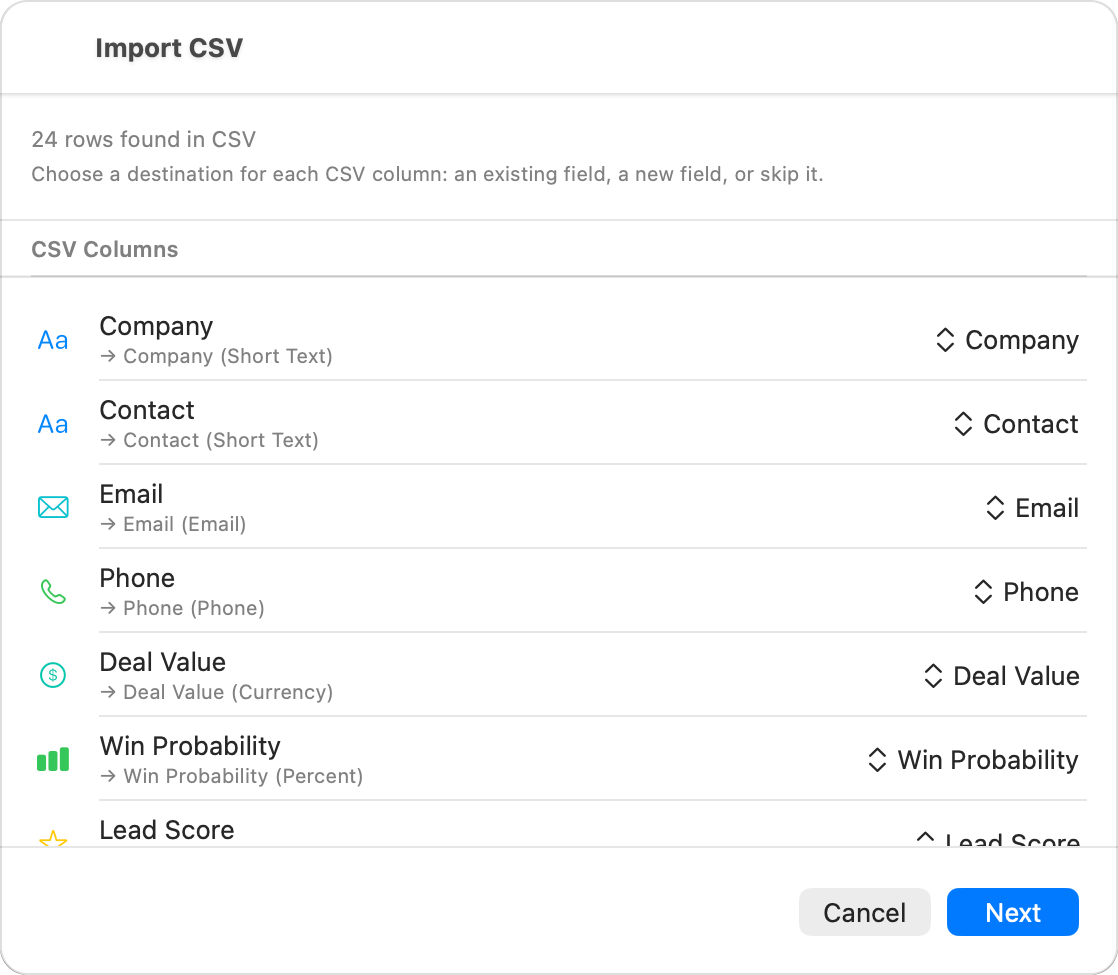
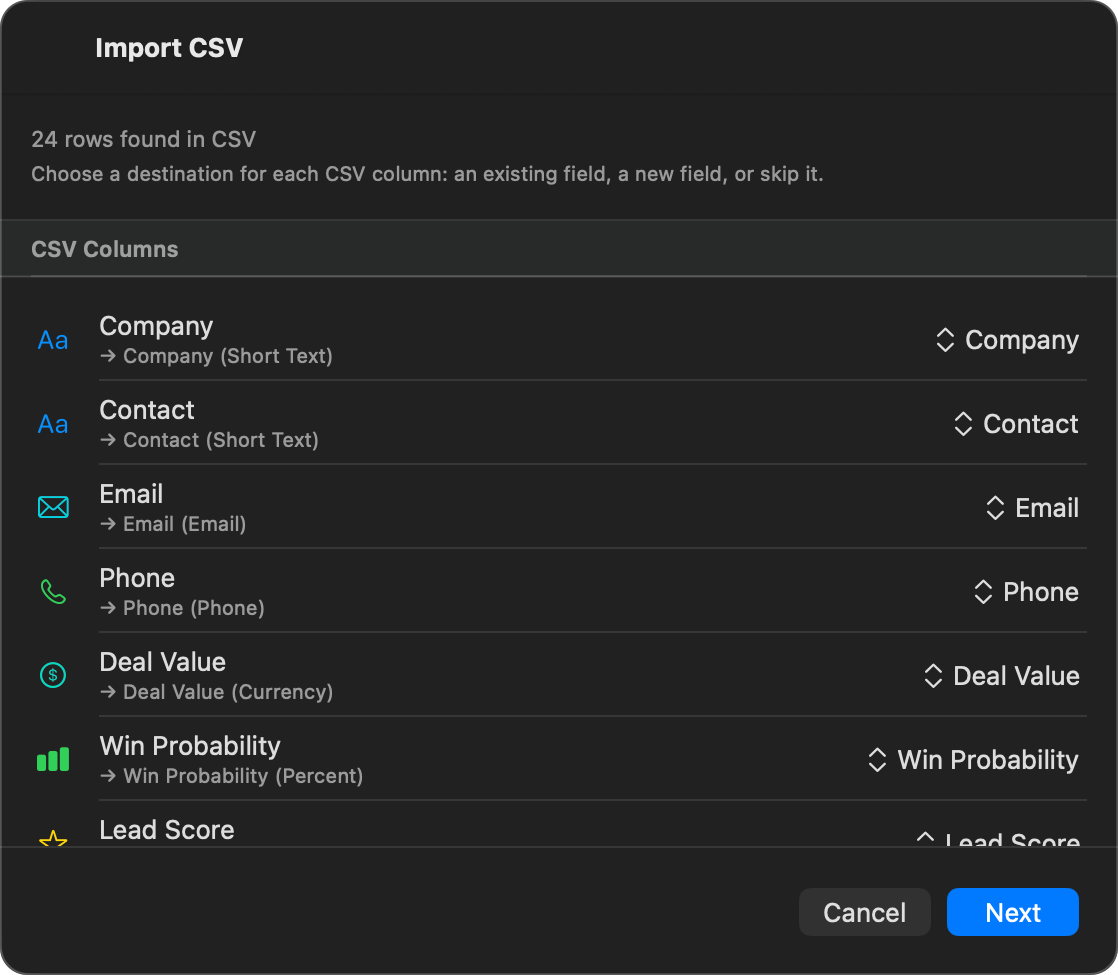
Neatbase pre-fills each column's destination when you open the mapping screen:
- If a CSV column header matches an existing field name, it's mapped to that field automatically.
- If your notebook is brand new (no fields yet), every column is pre-set to Create new field with the header as the name and Short Text as the type, so you can usually click straight through.
- Otherwise, the column is set to Don't import so you can choose.
You can always override the auto-mapping.
Creating Fields on Import
This is the fastest way to set up a fresh notebook from a CSV:
- Create an empty notebook.
- Open Import and pick your CSV.
- The mapping screen shows every column pre-set to Create new field, using the CSV header as the name.
- Glance through the type dropdown for each — change Short Text to Number, Date, Tags, etc. as appropriate.
- Click Import. The fields and notes are created together in one step.
Most field types are available for import-time creation: Short Text, Long Text, Secret, Email, Phone, URL, Barcode, QR Code, Color, Number, Currency, Rating, Percent, Duration, Date, Toggle, and Tags. Types that need extra configuration (like Select with its predefined options, or Reference with a target notebook) need to be created in the field editor first, then mapped to from Import.
What Your File Needs to Look Like
Neatbase reads standard CSV files (RFC 4180):
- One row per note. The first row is treated as the header.
- Comma-separated. Tab- or semicolon-separated files aren't supported. Re-save them as CSV in any spreadsheet app first.
- Quoted values. Cells containing commas, line breaks, or quote characters should be wrapped in
"…". Internal quotes are escaped by doubling them (""). - UTF-8 encoding. Latin-1 is accepted as a fallback for older Excel exports.
- Blank rows are skipped automatically.
If a column doesn't match the field's expected format, Neatbase leaves that cell empty on the imported note. The preview screen shows how many cells couldn't be read so you know exactly what to expect.
What Each Field Type Accepts
Each field type has its own rules for what counts as a valid value:
| Field Type | What to put in the CSV |
|---|---|
| Short Text / Long Text / Secret | Any text. |
| Email / Phone | Any text. |
| URL | Any text. If the field allows multiple links, separate them with commas — the same way Export writes them, so a round trip keeps every link. A URL containing a comma won't round-trip. |
| Barcode / QR Code | The code as plain text. |
| Number / Currency | A number. Currency symbols, thousand separators, and decimal commas are all handled ($1,234.56, 1.234,56, 1234.56). |
| Rating | A whole number from 1 to 5. |
| Percent | A number from 0 to 100. The % symbol is optional. |
| Duration | A duration like 1h 30m 45s, 01:30:45, 90m, or raw seconds. |
| Date | Most common formats work: 2026-04-15, 04/15/2026, April 15, 2026, ISO 8601, etc. If you're generating a CSV externally, prefer yyyy-MM-dd for reliable cross-locale results. |
| Toggle | One of: Yes/No, true/false, 1/0, on/off, checked/unchecked, y/n, t/f, or a check mark (✓). Case-insensitive. |
| Tags | A list separated by commas, semicolons, or pipes (Design, Marketing or Design \| Marketing). Wrap the whole cell in quotes if you're using commas. |
| Select | One value that exactly matches one of the field's configured options (case-insensitive). |
| Color | A hex color, with or without the # (#FF5733, FF5733, or shorthand F53). |
Fields That Can't Be Imported
These field types aren't included on the mapping screen because there's no clean way to represent them in a single CSV cell:
- Image — image files need to be added in the app after import.
- Reference — links between notebooks need real notes to point at.
- Checklist and Comments — these store structured lists that don't round-trip through CSV well.
- Formula — formulas are computed automatically.
- Button, Divider, Heading, Description — these don't hold per-note values.
If you need to populate these fields, add them in the app after the import.
Free Plan Limit
The Free plan allows up to 100 notes per notebook. If your CSV has more rows than the remaining capacity, Neatbase imports the first N rows that fit (in CSV reading order, top to bottom) and tells you in the preview how many will be skipped. Upgrade to Pro to import unlimited rows.
Import itself isn't Pro-gated for your own notebooks — you don't need a Pro subscription to use it. For shared notebooks, the import menu is reserved for the notebook's owner (see Shared Notebooks below).
Exporting
Export your notebooks and notes as CSV or TXT files — for a backup you keep yourself, for moving data into another app, or for handing a colleague a copy they can open without Neatbase. Export is available on every plan.
Export Options
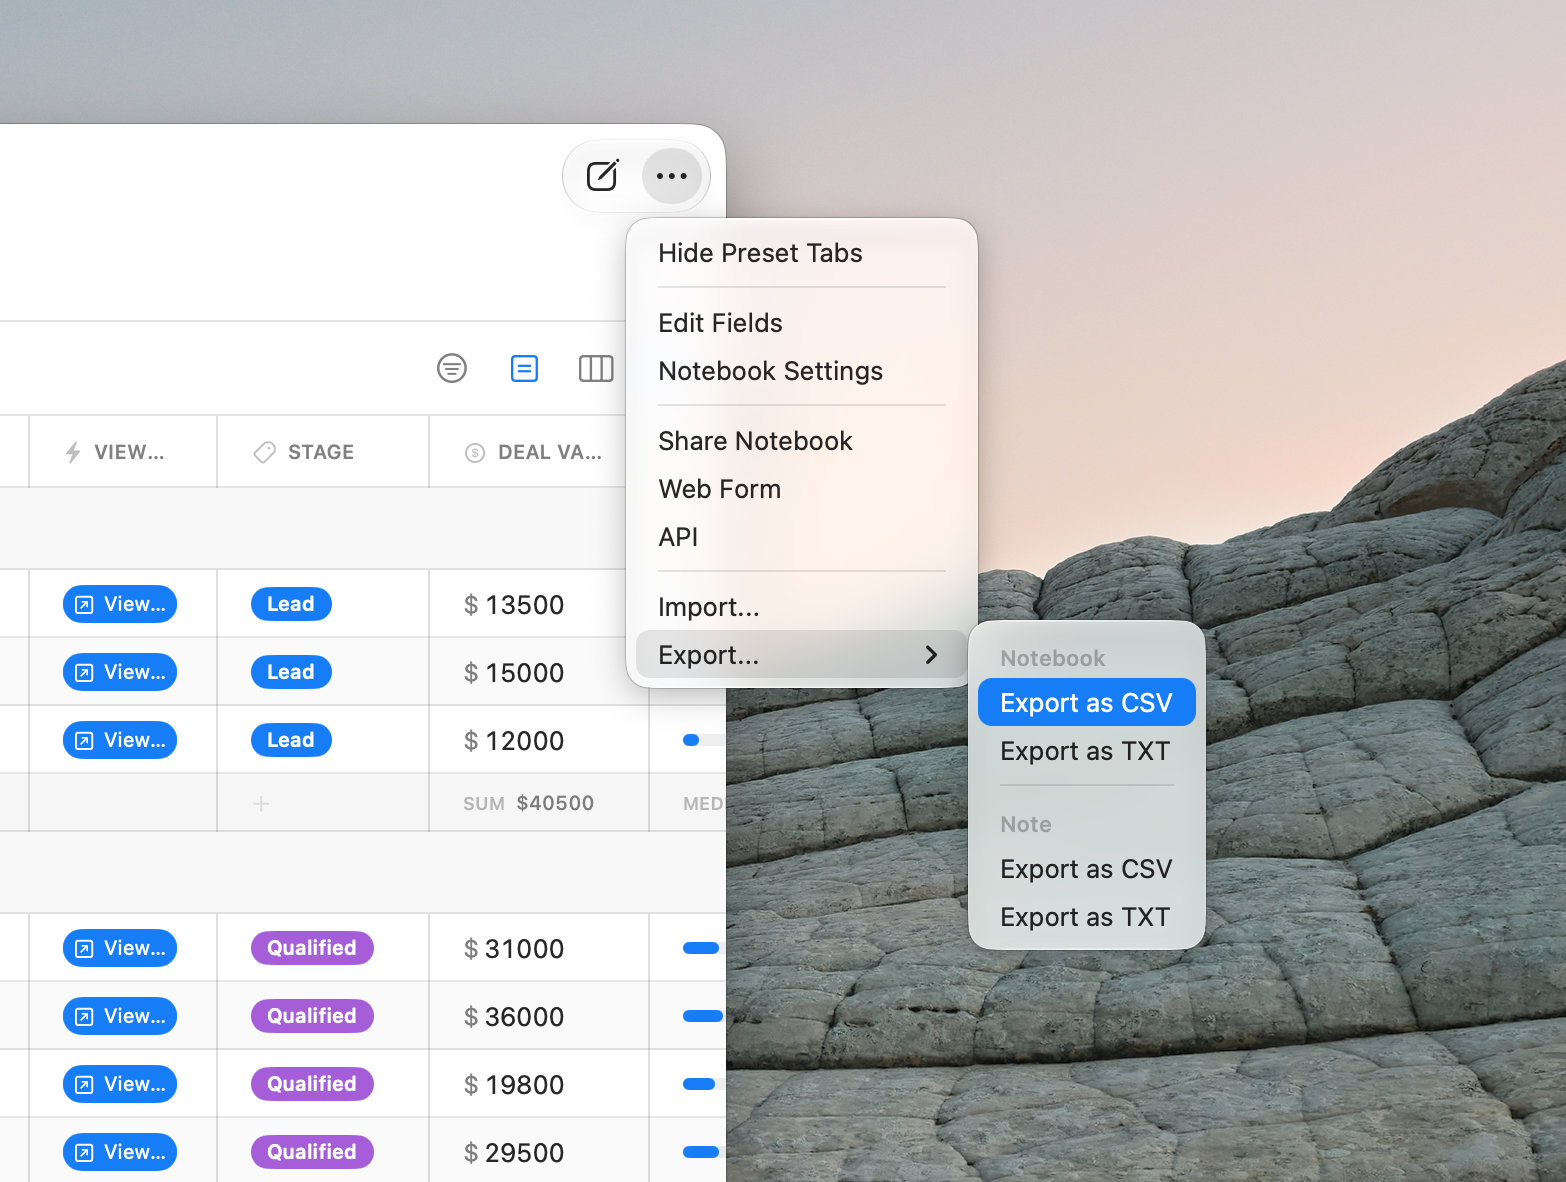
To export, click the ⋯ (More) menu in the toolbar and choose Export — or use File → Export in the menu bar. The submenu is divided into two sections:
- Notebook — Export all notes in the current notebook.
- Note — Export only the currently selected note (available when a note is selected).
Each section offers two formats: CSV and TXT.
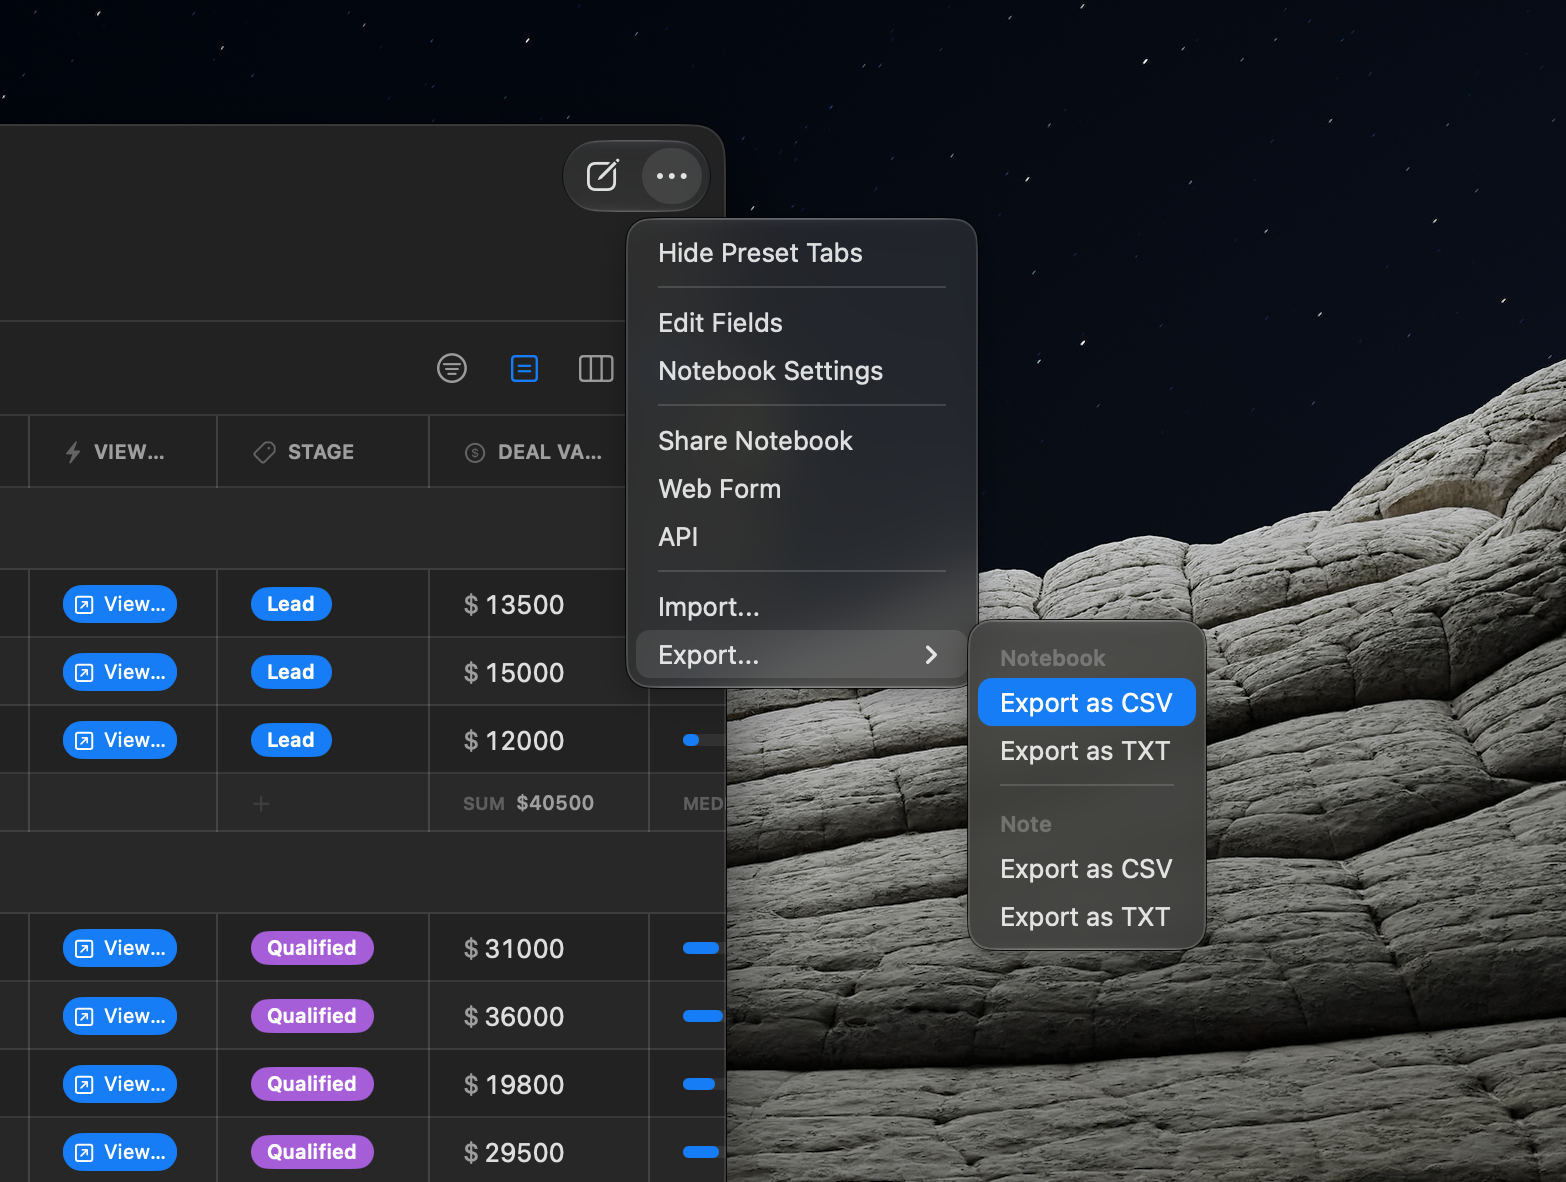
A save dialog lets you choose where to save the file. The default filename is based on your notebook or note title.
What's in a CSV Export
CSV (comma-separated values) exports open in spreadsheet apps like Excel, Google Sheets, and Numbers.
- Field names become column headers.
- Each note becomes a row.
- Field values are written the way they look in the app, not as raw data.
Most fields export exactly what you'd expect. These don't:
| Field type | What lands in the file |
|---|---|
| Checklist | a summary like 3/5 done |
| Comments | a count like 2 comments |
| Image | the word Image (the picture isn't included) |
| Reference | the linked notes' titles, comma-separated; links that can't be resolved are omitted |
| URL (multiple links) | every link, comma-separated. Page titles are display-only and never exported — the URL is the data |
| Toggle | Yes or No |
| Date | formatted for your region, not YYYY-MM-DD |
Divider, Heading, Description, and Button fields are left out, since they hold no data.
Secret fields export their real text, not the dots you see on screen — an export is your data leaving the app on purpose, and masked values would make the file useless as a backup. Store the file somewhere you'd be comfortable keeping the secrets themselves.
Ratings export as a plain number (4), so they sort and average properly in a spreadsheet and come back intact if you re-import.
Checklists, comments, and images are summaries rather than values, so those won't come back as they went out. For a faithful copy of a notebook, duplicate it in the app instead.
When exporting a single note, the file contains one header row and one data row.
CSV is the best choice when you want to work with your data in a spreadsheet or import it into another tool.
TXT Format
TXT exports your data as a readable, plain text file.
Each note is formatted with its title, field names and values, and timestamps (created and modified dates). When exporting a full notebook, notes are separated by sections with the notebook name as a header.
TXT is a good choice when you want a simple, human-readable copy of your data.
Platform Availability
Import and export are both available on macOS only — there's no import or export on iPhone or iPad. Import uses the standard Mac file picker, and export uses the Mac save dialog to let you choose the file location.
Shared Notebooks
If you're a participant on a shared notebook (you joined someone else's share, you didn't create it), both Import… and Export are greyed out. Bulk import and export are reserved for the notebook's owner. You can still add notes one at a time. If you need to bring data in or get a copy out, ask the owner to do it for you.
Tips
- Export to CSV first as a backup before a large import.
- Round-trip through a spreadsheet. Export from Neatbase, edit the CSV, then import the changes into a new notebook. Most fields survive intact — checklists, comments, and images come back as summaries rather than values, so a notebook holding those is better duplicated in the app.
- Use
yyyy-MM-ddfor dates when you're generating CSVs from scripts. Locale-formatted dates (April 15, 2026) work when the device's locale matches, but ISO dates always work everywhere. - Quote cells containing commas. A tags cell with
"Design, Marketing"reads as two tags. Without the quotes, the CSV parser would treat them as two columns. - Mismatched values stay empty. If a column for the Rating field contains the word "five", that cell is left empty on the imported note — the rest of the row still imports normally. The preview screen tells you upfront how many cells will be empty.