Web Forms
Turn any notebook into a public web form. Share the link, collect responses from anyone with a browser, and have them automatically imported as notes. This page covers publishing, customizing, and managing web forms.
Pro: Web forms require a Neatbase Pro subscription.
How Web Forms Work
A web form is a public page tied to your notebook's field structure. When you publish a form, Neatbase generates a unique URL that anyone can visit. Visitors fill in the fields and submit. Their responses are stored on the server, and the app automatically imports them as new notes in your notebook.
You don't need to share your notebook or give anyone access to your data. The form is a one-way channel: people submit, you receive.
Publishing a Form
- Click the ⋯ (More) button in the toolbar and choose Web Form.
- Fill in the form details:
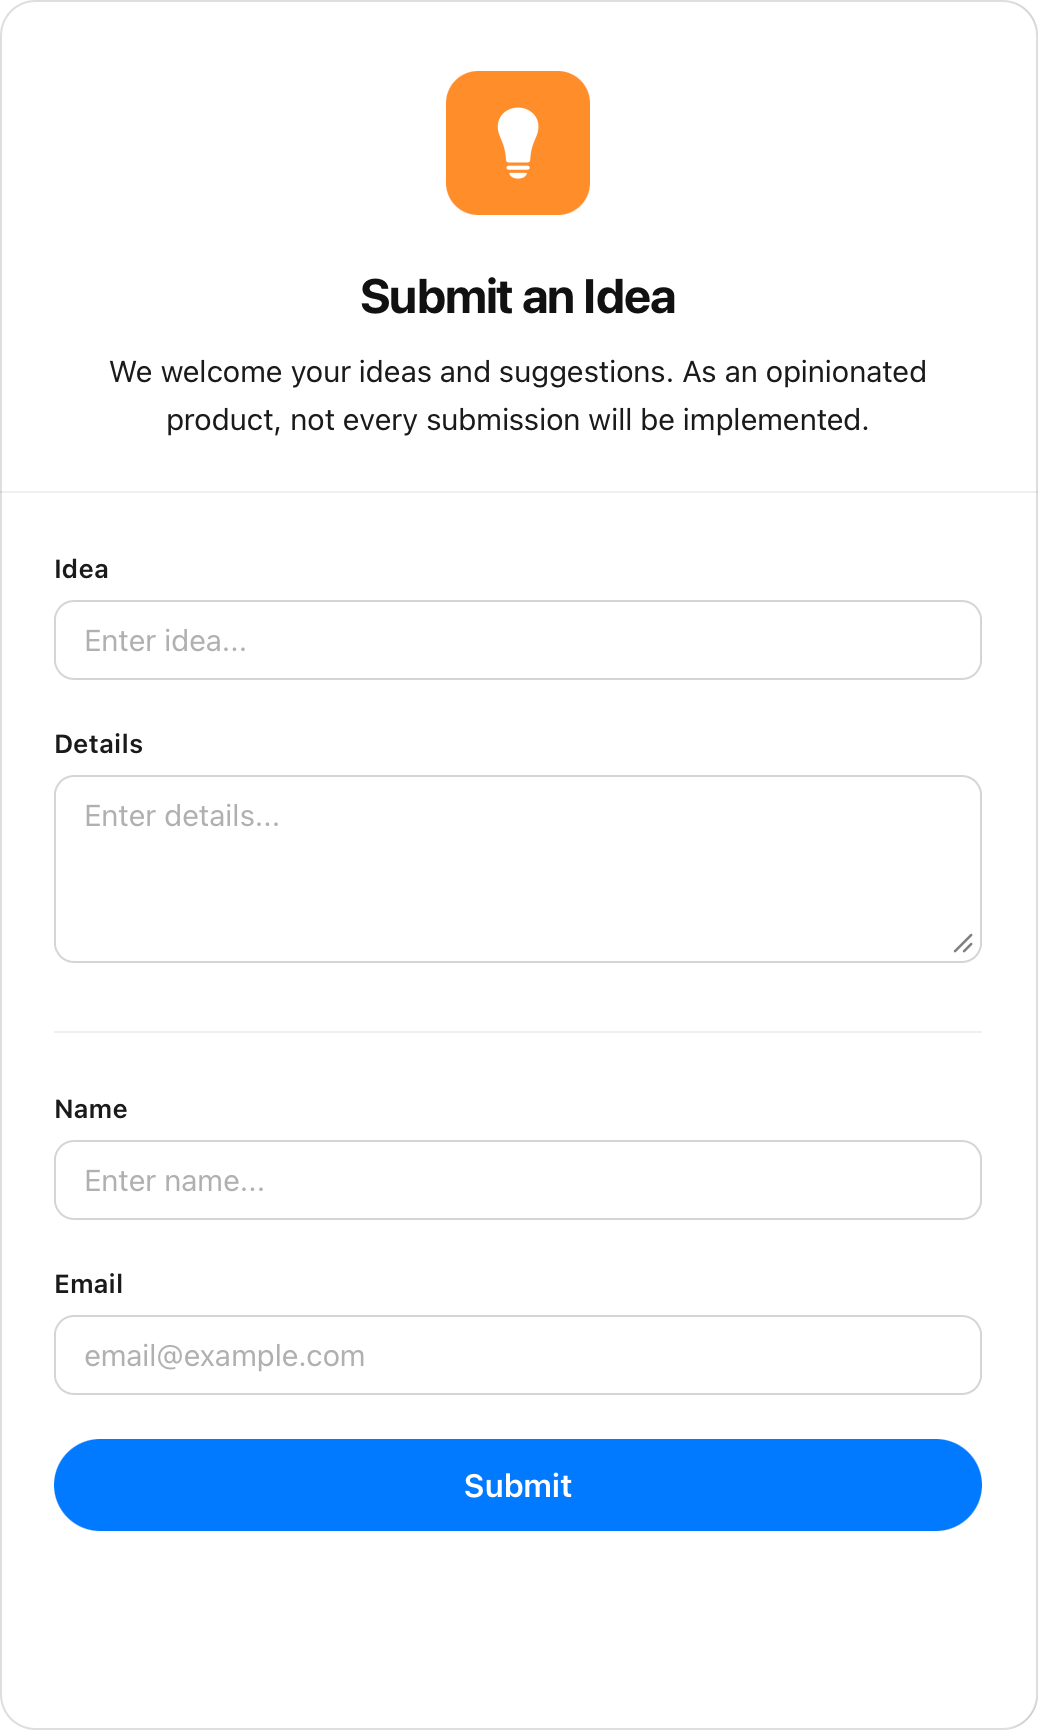
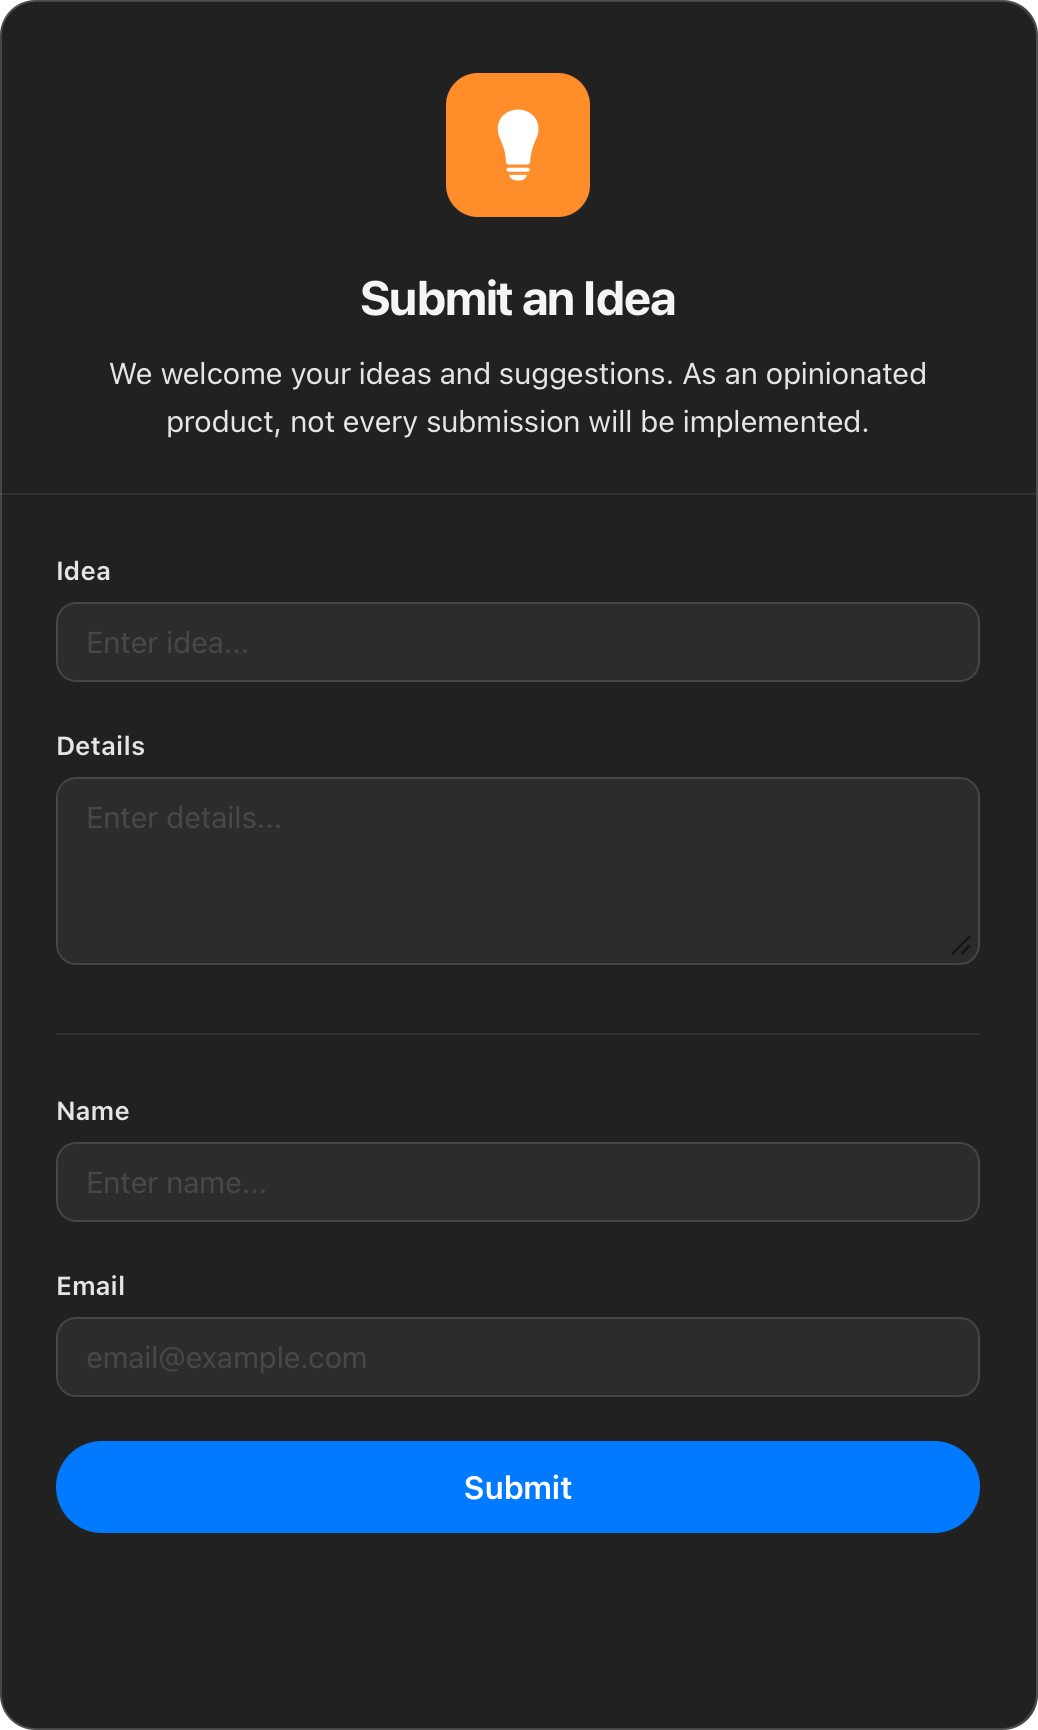
- Logo (optional) — Upload a square PNG or JPEG image (max 100 KB), using the file picker or by dragging an image onto the logo area. If you skip this, Neatbase generates one from your notebook's icon and color, so published forms always have a logo.
- Title — The heading displayed at the top of the form. Defaults to your notebook name.
- Description (optional) — A short paragraph shown below the title, up to 140 characters. Use this to explain what the form is for or give instructions. Email addresses and web links in it become clickable.
- Submit button label (optional) — Custom text for the submit button, up to 40 characters. Leave it empty for "Submit".
- Thank-you message (optional) — Your own text for the page people see after submitting, up to 280 characters. Leave it empty for the default "Your response has been submitted." Email addresses and web links in it become clickable, so it's a good place for a contact or a next step.
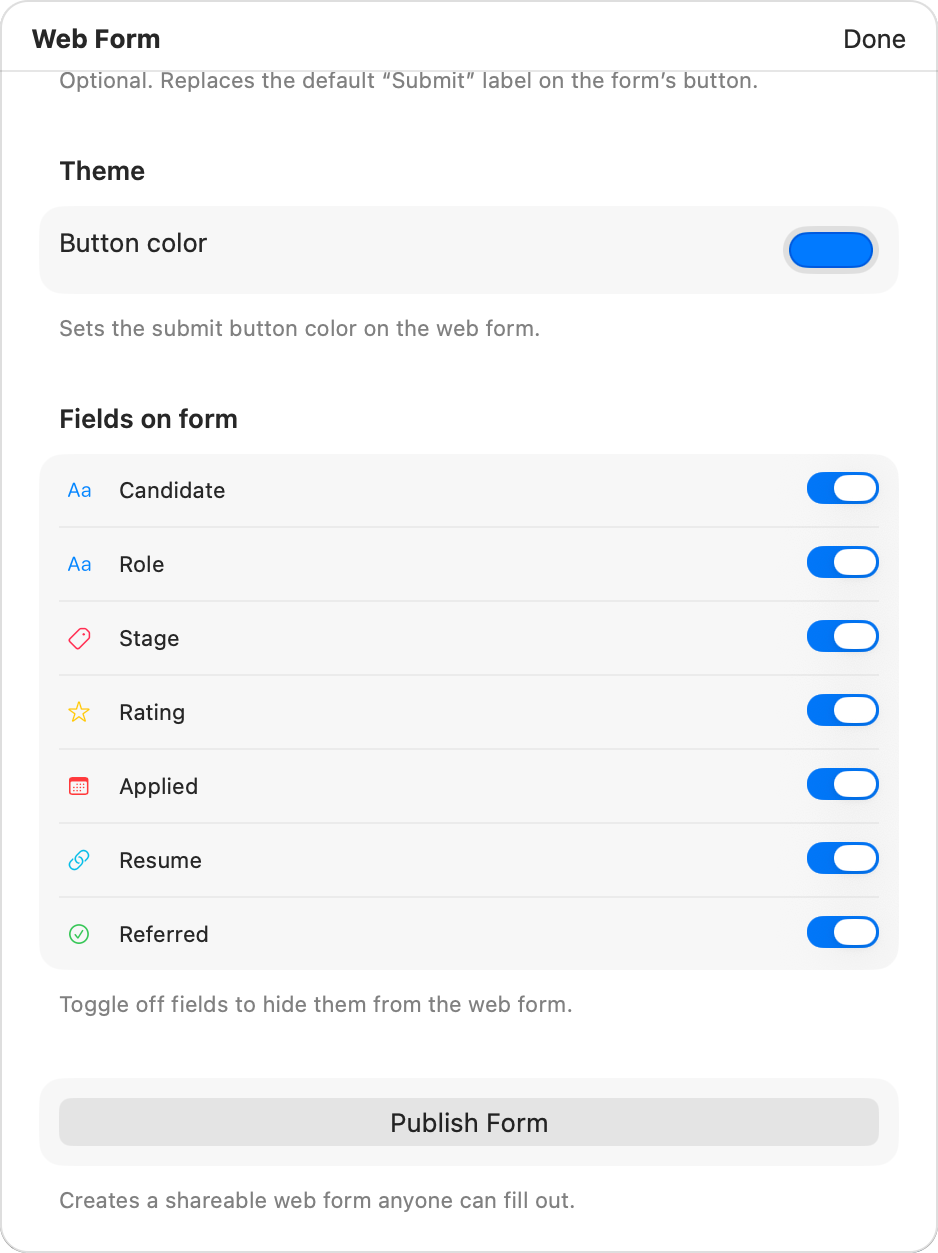
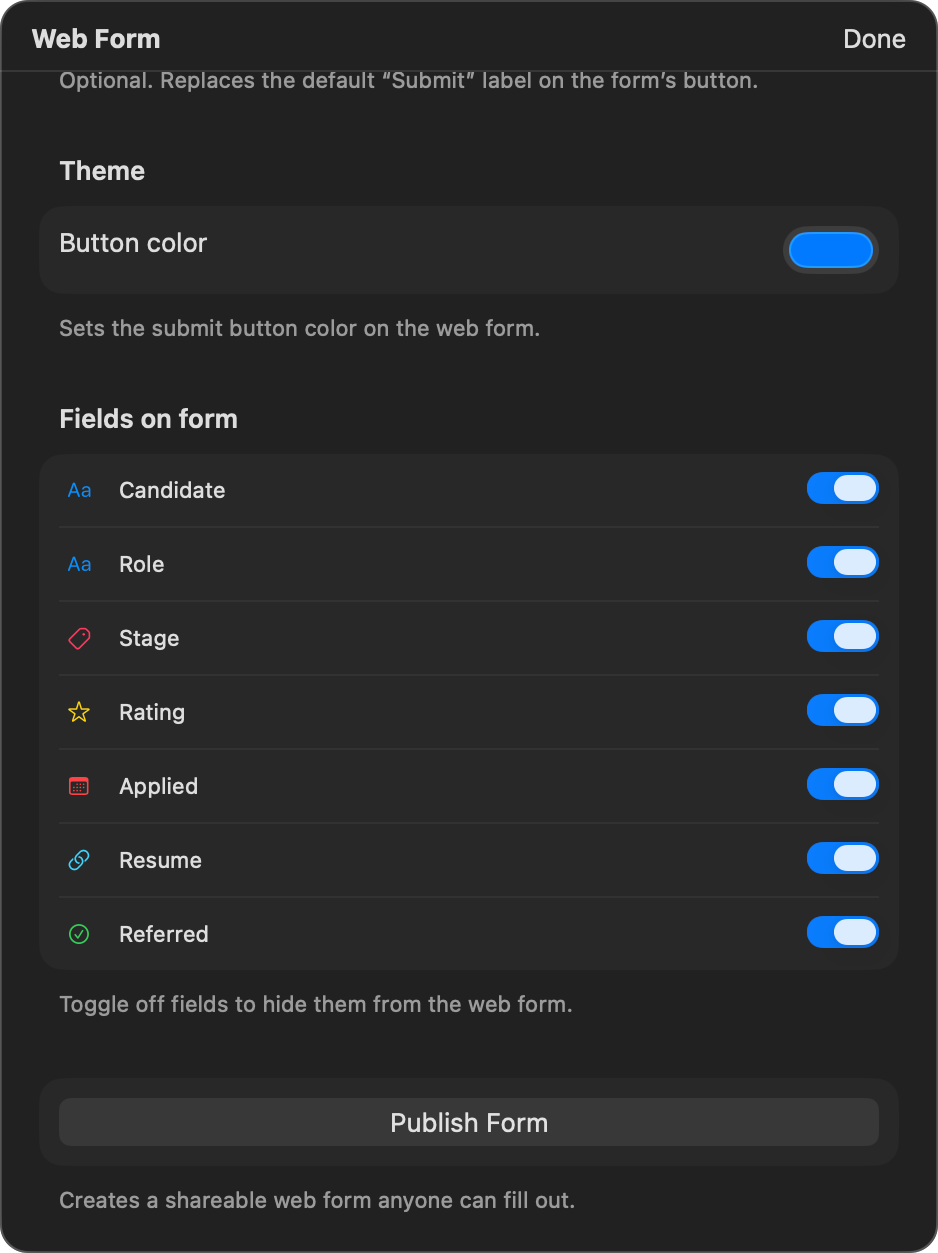
- Theme color — Colors the submit button, the selected tag pills, and any links in the description, thank-you message, and thank-you page. It's also used as the background for an auto-generated logo.
- Below the settings, you'll see a preview of which fields will appear on the form.
- Click Publish Form.
Supported Fields
Most field types appear on the web form. A few are excluded:
- Included: Short Text, Long Text, Secret, Email, Phone, URL, Number, Currency, Rating, Date, Toggle, Tags, Select, Image, Color, Duration, Percent, Barcode, QR Code, Divider, Heading, Description.
A URL field with Allow multiple links turned on appears as a multi-line box on the form, where the visitor puts one link per line.
- Excluded: Reference, Checklist, Formula, Comments, and Button. If you need one of these on the notes a form creates, fill it in yourself once the responses arrive.
Layout fields (Divider, Heading, and Description) render as visual elements on the form. They don't collect any data.
Secret fields are not hidden on a web form. They appear as ordinary, fully visible text boxes — the masking and Face ID unlock only exist inside the app. Don't put a Secret field on a public form expecting it to be concealed; exclude it from the form instead (see below).
Hiding Fields from the Form
You can hide specific fields from the form without removing them from your notebook. In the Form tab, each eligible field has a toggle next to it. Turn off any field you don't want to appear on the published form. This is useful for internal-only fields like an "Approved" toggle that respondents shouldn't see.
Sharing the Form Link
Once published, you'll see the form URL. It looks like cloud.neatbase.com/f/{id}.
Click Copy Link to copy it to your clipboard. Send the link to anyone you want to collect responses from: paste it in an email, message, or post it on a website.
Anyone with the link can open it in a browser and submit a response. No account or login is required.
Editing a Published Form
You can update a form after publishing.
- Choose ⋯ (More) → Web Form.
- Click Edit Form.
- Make your changes (title, description, logo, submit button label, thank-you message, theme color).
- Click Save Changes.
The updated form is live immediately. The URL stays the same.
If you've added or removed fields since publishing, the form updates to match when you save.
Automatic Response Import
Neatbase checks for new form responses automatically:
- On launch — When you open the app, it checks all your published forms for new submissions.
- Periodically — While the app is open, it checks for new responses automatically.
When new responses are found:
- Each response is imported as a new note in your notebook.
- The field values from the submission are mapped to the corresponding fields.
- Image submissions are downloaded and stored locally.
- New notes appear with an unread indicator (a blue dot) so you can easily spot them.
- After importing, the responses are deleted from the server.
You don't need to do anything. Responses flow in automatically.
Limits to Know About
A few server-side rules apply to every published form:
- 60 submissions per hour, per form. Beyond that, further responses are turned away until the hour is up. Worth knowing before you send a form to a large list at once.
- One submission every 5 minutes from the same browser. This keeps out accidental double-submits and casual spam. If you're demoing your own form, use a private window to bypass your own cooldown.
- JavaScript is required. Respondents with scripts disabled can't submit — the form tells them so.
Pausing a Form
To stop accepting responses:
- Click the ⋯ (More) button in the toolbar and choose Web Form.
- Click Unpublish.
- Confirm in the dialog.
The form stops accepting responses immediately, and anyone who visits sees that it's no longer available. Notes that were already imported stay in your notebook.
Unpublishing pauses the form rather than destroying it — your form keeps its address. If you publish the same notebook again later, the old link starts working again, so anything you've already handed out or printed stays valid.