Table View
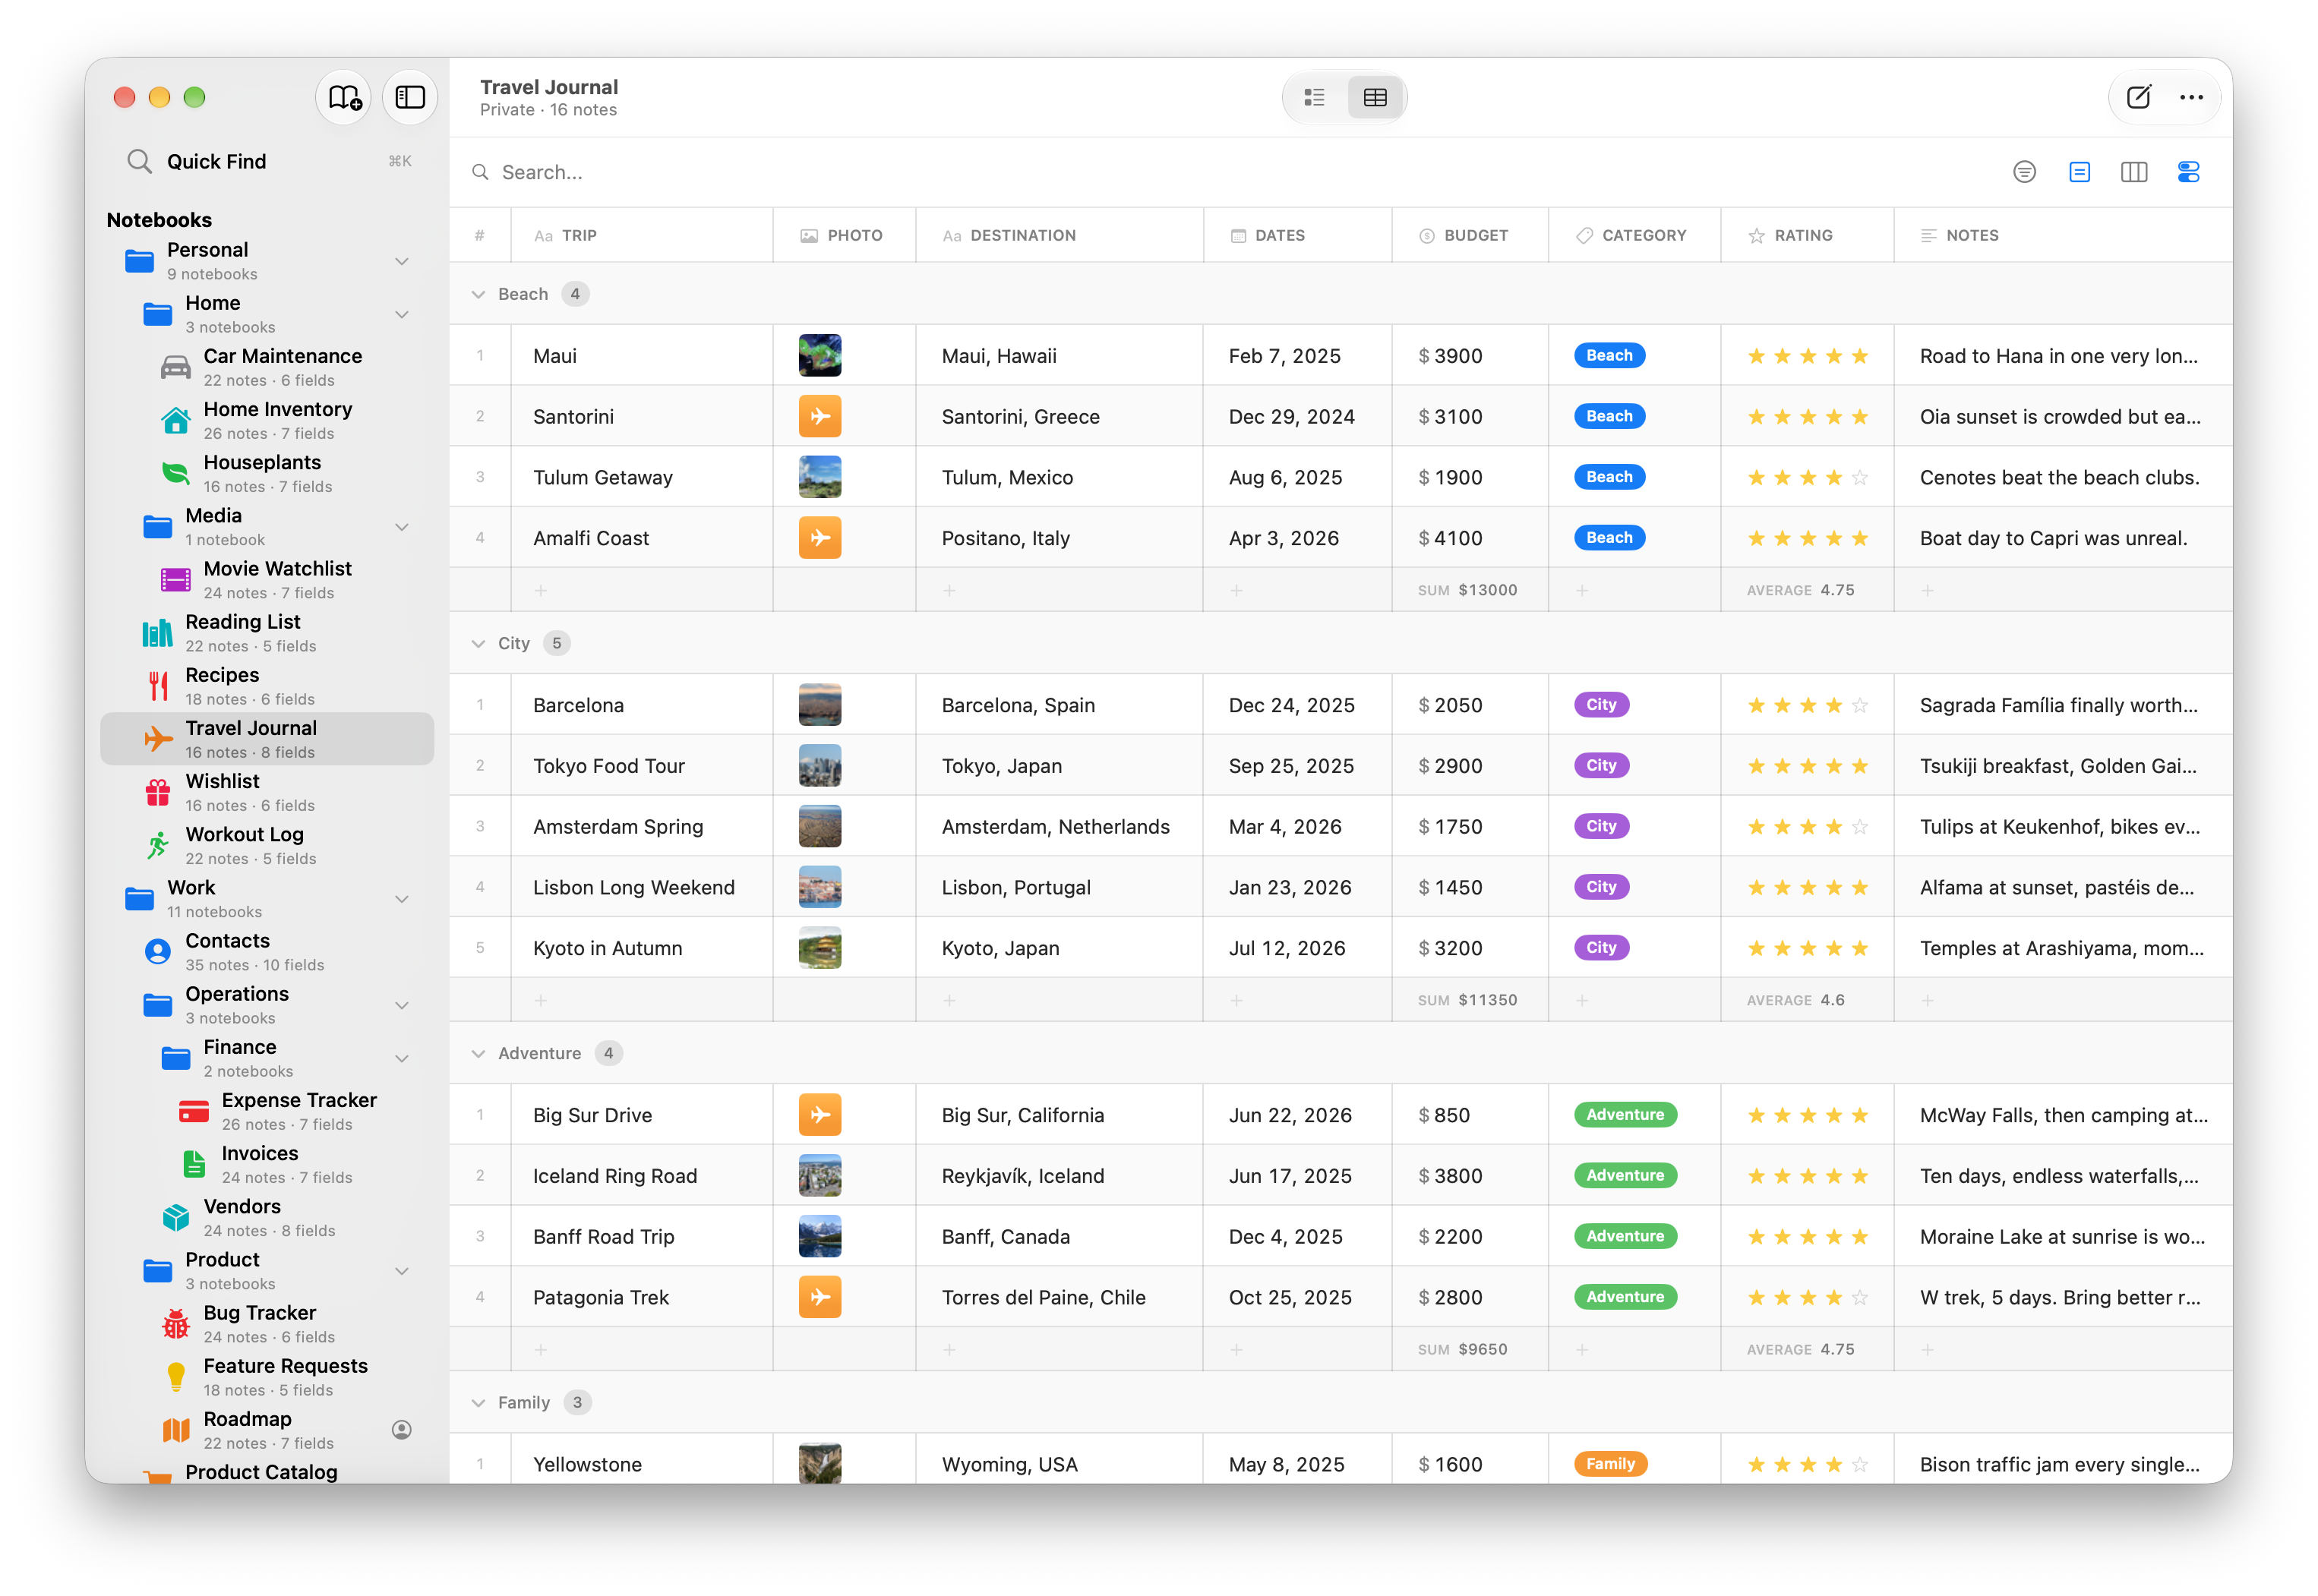
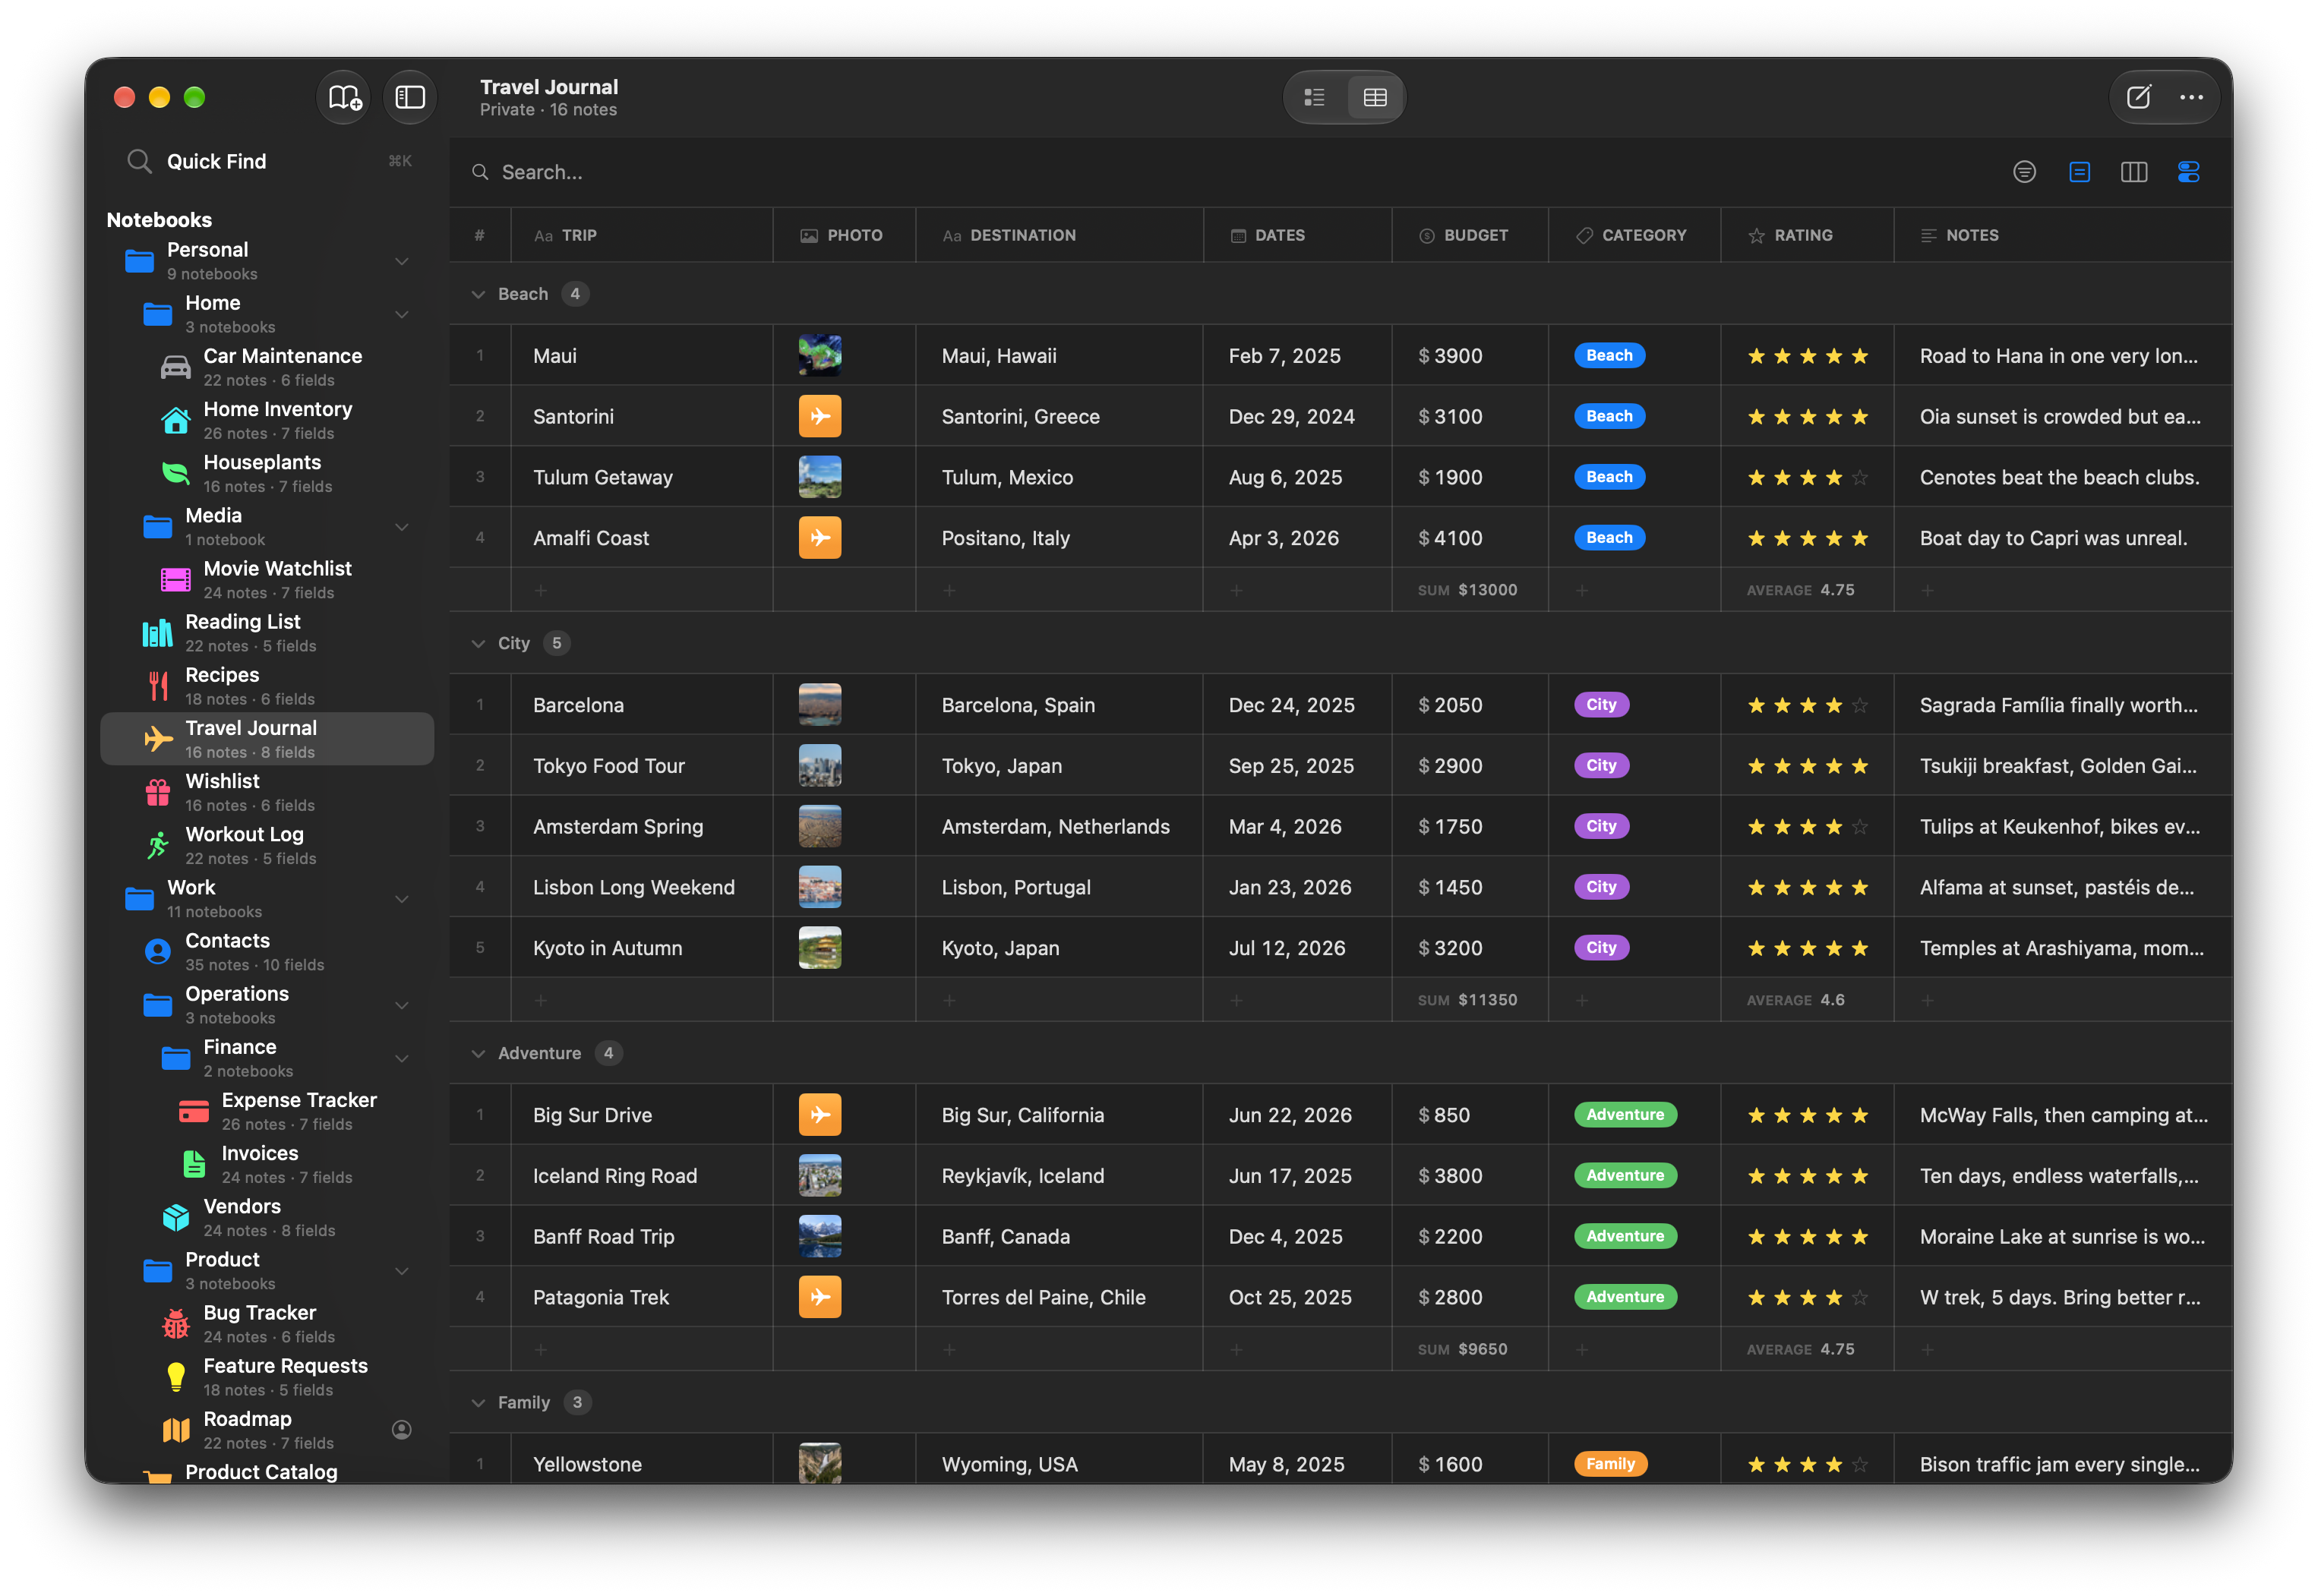
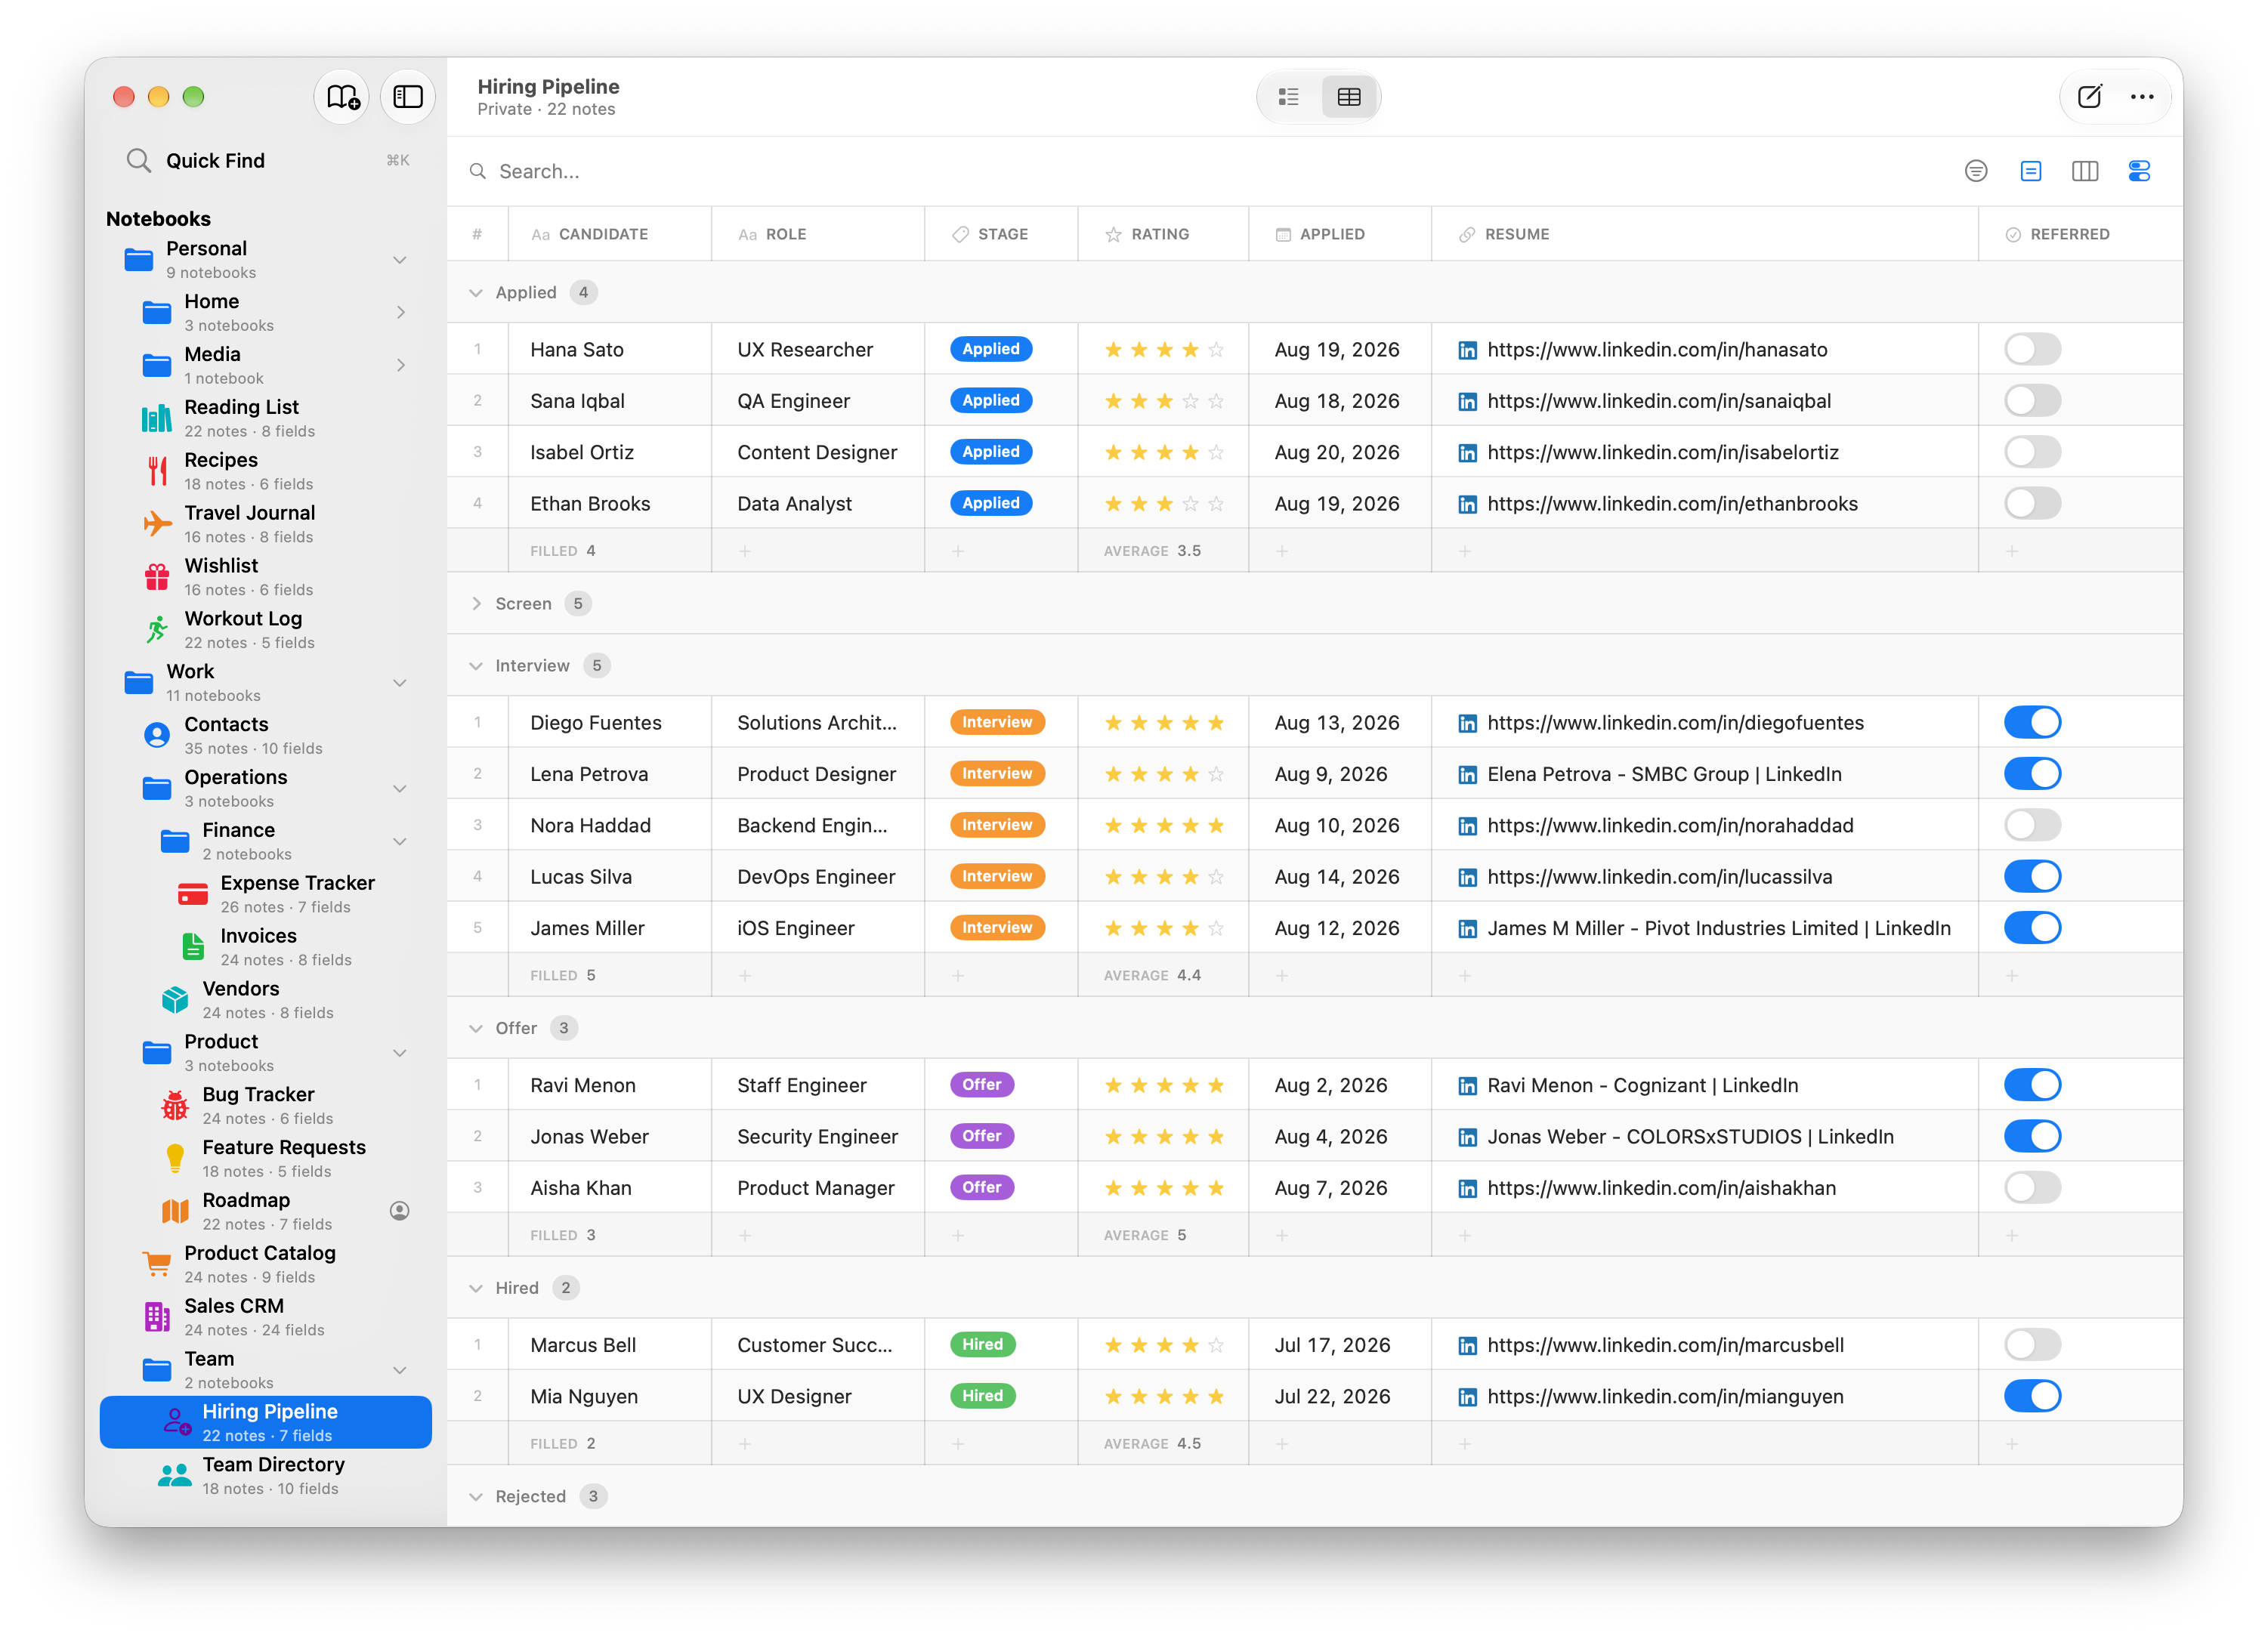
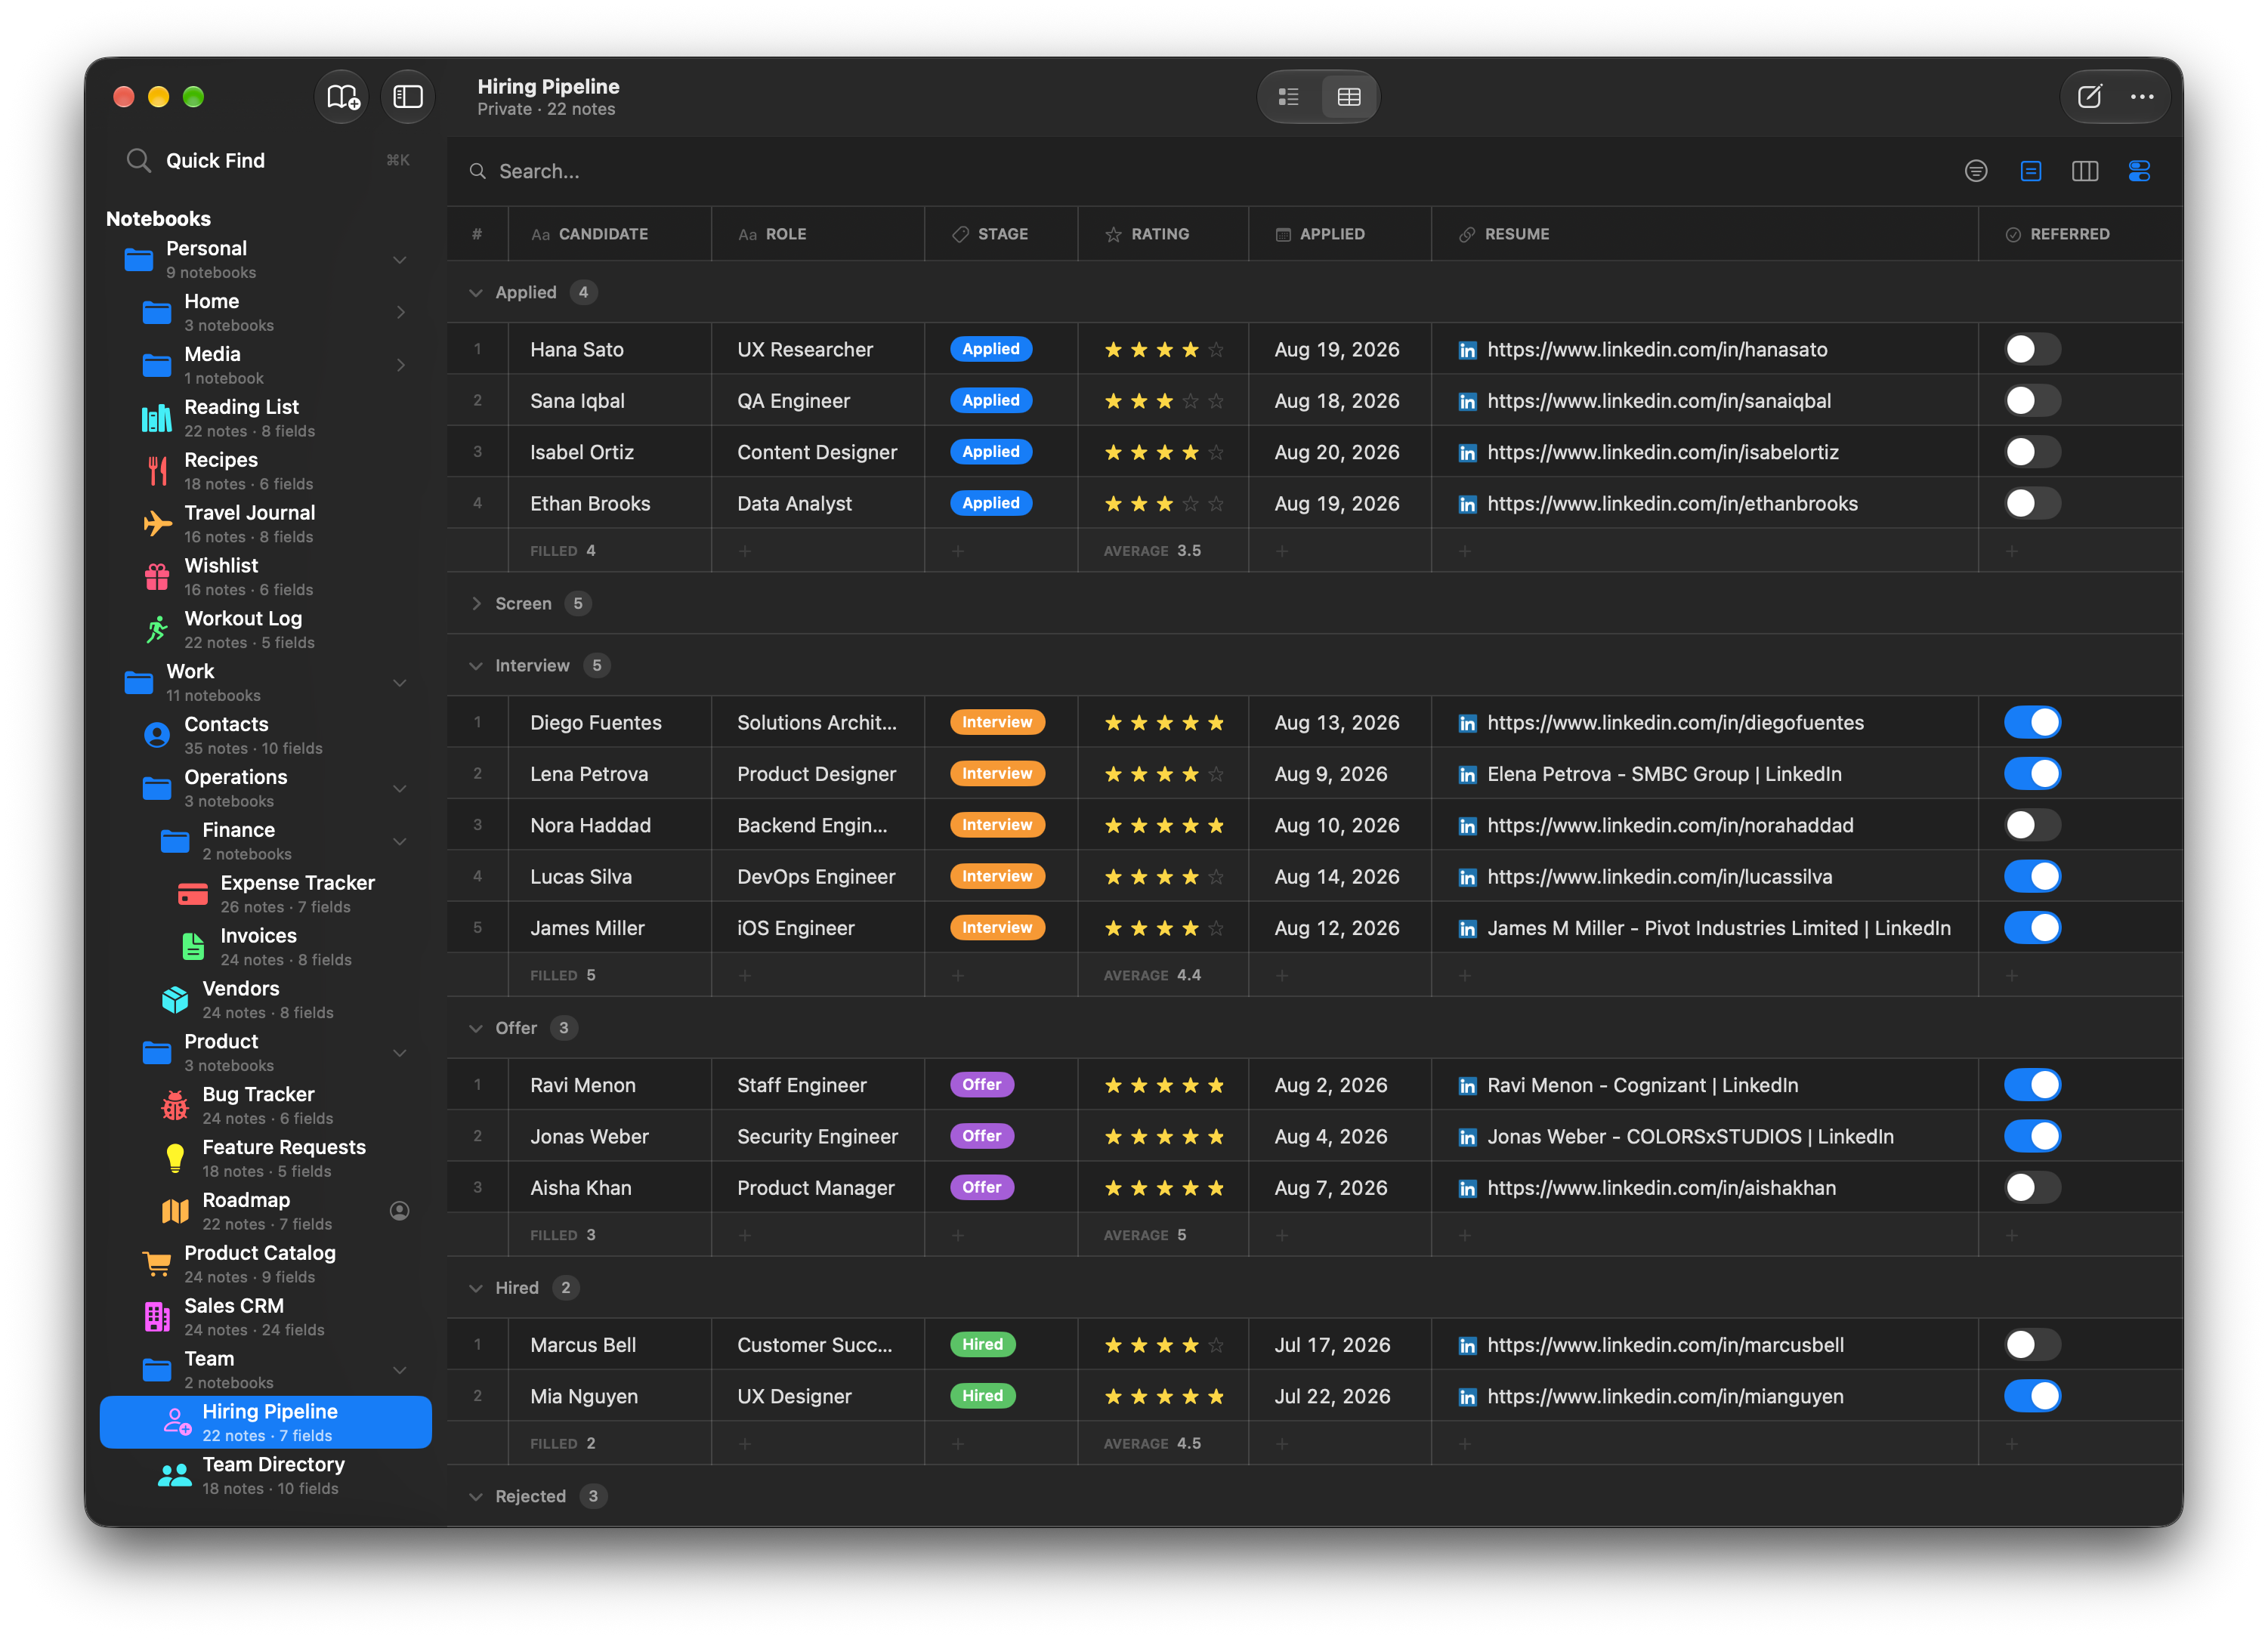
Table view shows all your notes in a spreadsheet-style grid. You can edit cells inline, sort by any column, filter with type-aware operators, and control which columns are visible. This page covers everything you can do in Table view.
Structure
Table view has two columns:
- Notebook sidebar (left) — Your notebooks and groups.
- Table (right) — A full-width spreadsheet grid with your notes as rows and fields as columns.
Each row is a note. Each column is a field. The first column is a row number (you can hide it — see View Options), followed by your field columns, and optionally system columns at the end.
Alternating rows have a subtle background tint for readability.
When they're turned on, preset tabs sit at the very top, for switching between saved table setups. Under those, on Mac and iPad, is a row containing the search field and four buttons: Filter (narrow the rows), Group By (split them into sections), Columns (choose which are visible), and View Options (row height, footer, row numbers). On iPhone that row doesn't exist — the search field and a combined view options menu live in the floating bar at the bottom of the screen instead.
Selecting and Editing Cells
The table uses a click-to-select, click-to-edit pattern, similar to a spreadsheet.
First click on a cell selects it. A blue border appears around the cell, but you're not editing yet.
Second click on the same cell enters edit mode. A text cursor appears and you can type.
Clicking a different cell selects that cell instead and deselects the previous one. Clicking an empty area of the table deselects everything.
Interactive fields like Rating, Date, Toggle, Tags, Select, Image, Reference, Checklist, and multi-link URL fields work on the first click — tapping them activates the control immediately.
Inline Editing
Changes save automatically as you type or interact with a field.
Most field types are editable inline:
- Text fields (Short Text, Long Text, Email, Phone, URL) show a text input on second click. A URL field set to allow multiple links opens a small editor instead, with one row per link.
- Number shows a numeric input on second click. Whole numbers display without decimals.
- Currency shows a numeric input on second click with the currency symbol prefix.
- Rating shows tappable stars (first click).
- Date shows a tappable date pill that opens a calendar picker (first click). Optionally captures a time, and can color-code dates that are today — both via per-field toggles in the field editor.
- Toggle shows a switch (first click).
- Tags show a dropdown menu to toggle tags on or off (first click, when tags are configured).
- Select shows a custom dropdown popover with the configured options. Click the cell to open it and pick a value (or clear the selection).
- Checklist shows a summary like "3/5 done." Click the summary — or select the cell and press Enter — to open the list in a popover, where you can add items, tick them off, rename, reorder, and delete.
- Image shows a menu with options to add, replace, save, or remove the image (first click).
- Reference shows a searchable picker to select or change the linked note (first click). When the field allows multiple notes, the picker stays open so you can tick several, and the cell lists the linked titles together. The jump arrow appears when there's exactly one link. Reference columns sort by the linked note's title.
- Secret shows dots with an eye icon. Click the eye to authenticate with Face ID or Touch ID, then follow the same click-to-select, click-to-edit pattern.
These types are editable, with a display format of their own:
- Duration shows the formatted time (e.g., "2h 30m"). Editing in the table works in whole minutes — to record seconds, open the note.
- Percent shows a progress bar with the percentage.
- Barcode and QR Code show the value in monospaced text.
A few types can only be viewed in the table:
- Comments shows a count pill. Open the note to read, post, or delete entries.
- Formula shows the computed result (it's calculated, so there's nothing to type).
- Color shows a swatch and the hex value.
Layout fields (Divider, Heading, and Description) don't appear in the table, since they don't store data.
To edit a view-only field, open the note (see Opening a Note) or switch to Notes view.
Sorting
Click any column header to sort the table by that column.
Clicking the same header cycles through three states:
- First click — Sort ascending (A to Z, smallest to largest, oldest to newest).
- Second click — Sort descending (Z to A, largest to smallest, newest to oldest).
- Third click — Clear the sort.
A chevron icon appears on the sorted column: up for ascending, down for descending.
Sorting works for both field columns and system columns (Title, Created, Updated, Added by, Edited by). The sort preference is saved to the active preset, so it persists when you leave and come back.
How Sorting Handles Different Types
- Text fields (including Barcode and QR Code) sort alphabetically, case-insensitive. Empty values go to the end.
- Numbers, Currency, Duration, and Percent sort numerically. Empty values go to the end.
- Ratings sort by star count.
- Dates sort chronologically. Empty values go to the end.
- Toggles sort off before on.
- Colors sort alphabetically by hex value.
- Formulas sort numerically by computed value. Errors go to the end.
Filtering
Filters narrow the table to the notes you care about — open invoices, overdue tasks, everything tagged for this quarter — using conditions matched to each field's type.
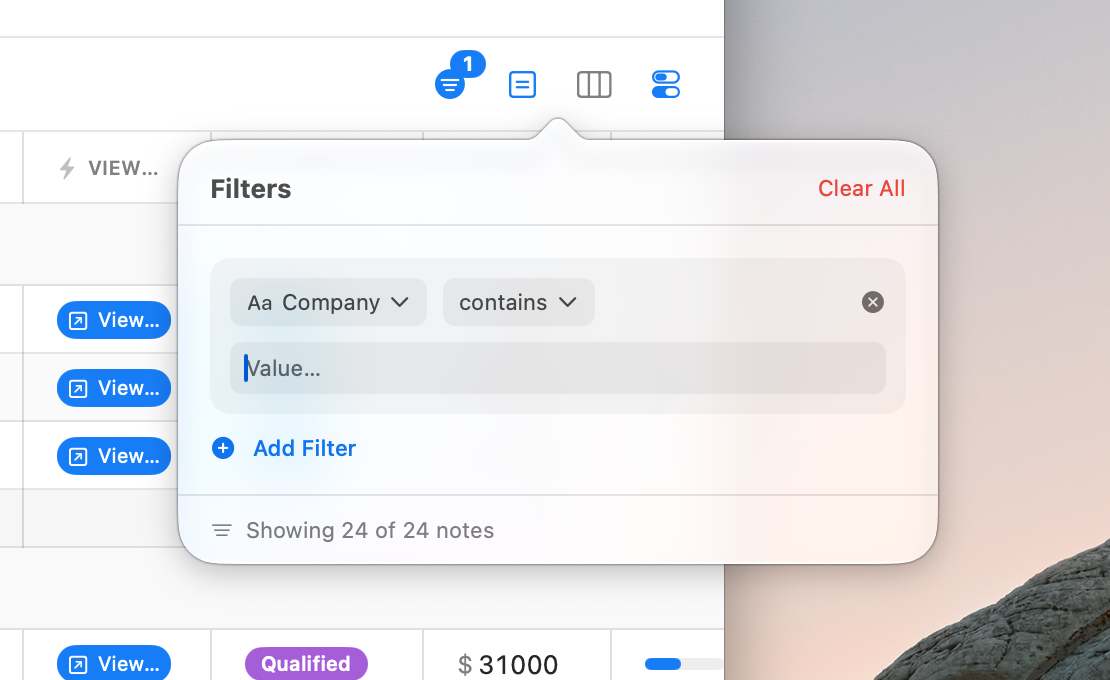
On Mac and iPad, click the filter icon in the table's action bar to open the filter editor. On iPhone, open the view options menu in the bottom bar and choose Filter By. The editor opens as a popover on Mac and as a sheet on iPhone and iPad, so the table itself never loses space.
Adding a Filter
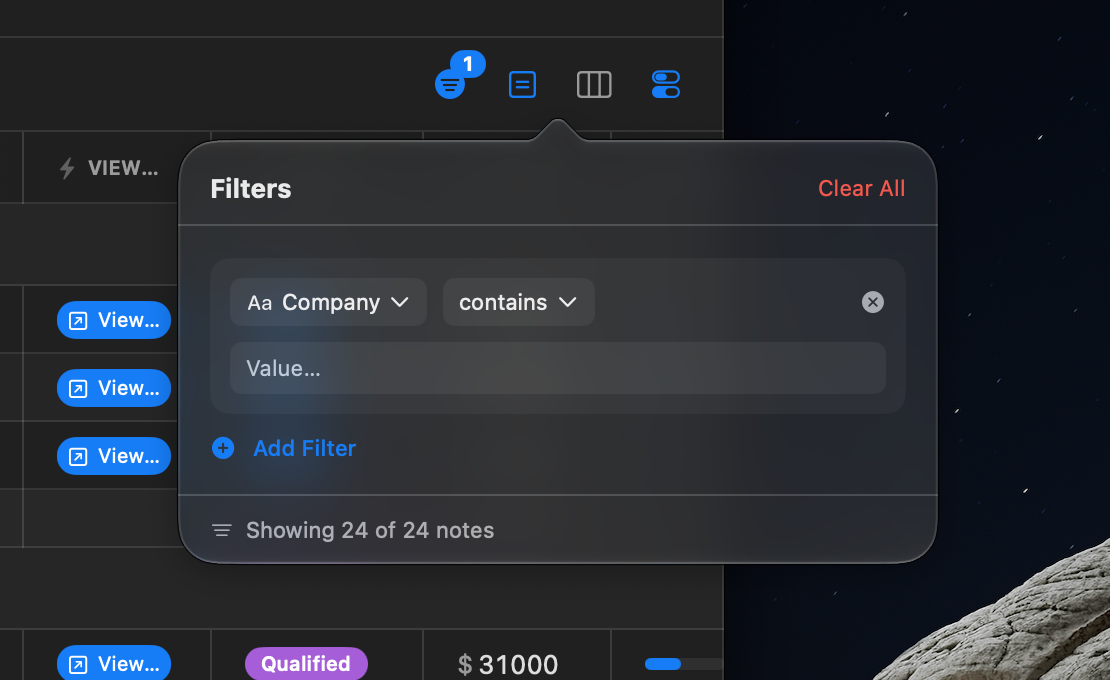
- Click Add Filter. A filter row appears straight away, using your first filterable field.
- Use the two menus on the row to pick the field and the condition. The conditions on offer depend on the field's type.
- Enter a value underneath, if the condition needs one.
The table updates as you type, and a running "Showing N of M notes" count at the bottom of the editor tells you how much your filters are hiding.
Multiple Filters
You can add as many filters as you need. When several are active, a note must match all of them to appear. On Mac and iPad the filter icon shows a badge with the number of active filters; on iPhone the bottom bar's view-options icon turns blue and the Filter By item shows the count. Either way you can tell at a glance that the table isn't showing everything.
To start over, click Clear All in the filter editor's header.
Filters are saved to the active preset, so they persist when you leave and come back.
Operators by Field Type
The conditions on offer depend on the field's type. This table shows which apply where; the notes below cover the ones that need explaining.
| Condition | Applies to |
|---|---|
| contains · starts with | Text, Email, Phone, URL, Barcode, QR Code, Reference, and the Added by / Edited by columns |
| equals | All of the above, plus Number, Currency, Duration, Percent, Formula, Rating, Date, Select, Color |
| greater than · less than · between | Number, Currency, Duration, Percent, Formula |
| at least · at most | Rating |
| before · after · between (dates) | Date, and the Created / Updated columns |
| today · yesterday · this week · last week · this month · last month · last 7 days · last 30 days | Date, and the Created / Updated columns |
| is on · is off | Toggle |
| has any of · has all of | Tags |
| has items · all done · not all done | Checklist |
| has items | Comments |
| has image · no image | Image |
| is empty | Everything except Rating, Toggle, and Image — including Checklist and Comments |
| is not empty | The same, minus Checklist and Comments (those only offer is empty) |
Relative dates are the quickest way to filter by time. Rather than picking a date, choose something like this week or last 30 days and the filter keeps up on its own — a "Due" column filtered to today still shows today's work tomorrow. These also apply to the Created and Updated system columns, which is the easy way to answer "what did I touch this month?"
Tags filter by chips, not by typing. If the field has configured tags, the value input is a row of tappable chips — tap to include or exclude each one. Fields with no configured tags fall back to a comma-separated text box.
Between takes two inputs. Numeric fields get a Min and a Max; dates get a From and a To.
Reference filters match the linked note's title — the same text the cell shows. A link whose note can't be resolved matches as "Unknown note", and is empty / is not empty go by whether the field holds links at all, not by whether they currently resolve — so is not empty is the way to surface broken links.
Some types can't be filtered at all: Secret (its whole point is not being searchable), Button, and the layout fields. They don't appear in the field menu.
Removing a Filter
Click the X button next to any filter to remove it. The table updates immediately.
Group By
The group-by feature lets you organize your table rows into collapsible sections based on a field's value. On Mac and iPad, click the group-by icon (a square grid icon) in the table's action bar to open the group-by picker. On iPhone, it's the Group By item in the bottom bar's view-options menu.
Supported Field Types
- Tags — Groups by each tag value. Notes with multiple tags appear in multiple groups. An additional "No value" group collects untagged notes.
- Toggle — Groups into "Yes" and "No" sections.
- Rating — Groups by star count, from 5 stars down to 1, plus a "No rating" group.
- Select — Groups by the chosen option, in the order the options are configured, plus a "No value" section.
- Reference — One section per linked note, by its title. A note linking three others appears under all three, like Tags. Two sections trail the list: "Unknown note" for links that can't currently be resolved, and "No value" for notes with no links.
- Added by / Edited by — Groups by person, with a "No value" section last. Shared notebooks only. A quick way to see who has been working on what.
Created and Updated aren't groupable. Sorting by them already puts the table in date order, and any grouping would have to use moving buckets like "This week" — which would quietly mean something different tomorrow than it does today.
Collapsible Sections
Each group shows a section header with a chevron, the group label, and a note count. Click the chevron to collapse or expand a group. Collapsed groups are saved to the active preset, so they persist when you navigate away and come back.
Clearing Group By
Open the group-by picker and select None to return to a flat table. The group-by icon is tinted when grouping is active. Your group-by choice is saved to the active preset.
Presets
Presets let you save multiple table setups per notebook and switch between them with one click. Each preset remembers the entire table configuration:


- Filters
- Group By
- Sorting (column and direction)
- Visible columns and system columns
- Column order and column widths
- Row height
- Row numbers (shown or hidden)
- The footer row and its per-column calculations
- Collapsed groups
Think of presets as saved workspaces for the same data. A task notebook might have an "All" preset, an "Open Items" preset (filtered and grouped by status), and a "Report" preset with footer sums turned on. One click moves between them — no rebuilding filters every time.
Turning On the Preset Tabs
Presets live as a row of pill-shaped tabs above the table. They're hidden by default to keep the table clean — turn them on with Show Preset Tabs:
- The first item in the table's ⋯ (More) menu (all platforms).
- The View menu on Mac and iPad, where it reads Show Preset Tabs / Hide Preset Tabs.
The active preset appears as a filled pill in its color; the others stay neutral until selected. Hiding the tabs doesn't change anything about your presets — the active one stays in effect, and everything is right where you left it when you show them again.
The Default Preset
Every notebook has one built-in preset to start, named Main. You can rename it, recolor it, reorder it, or delete it just like any other preset — the only rule is that a table always keeps at least one preset, so the last remaining one can't be deleted. If you never touch the feature, Main is simply where your table settings have always lived.
Creating a Preset
Click the + button at the end of the preset tabs, or use View → New Preset… on Mac and iPad (which also turns the tabs on if they're hidden). Give the preset a name and, optionally, a color — the same palette as notebook colors.
Each notebook can have up to 5 presets (including Main). At the limit, the + button and the New Preset… menu item are disabled — delete a preset you no longer need to make room.
A new preset starts with a fresh, default table setup. From there, just configure the table normally — filters, columns, footer, anything. Changes always save automatically to the active preset; there is no separate "save" step.
Editing, Reordering, and Deleting
Long-press a preset pill (iPhone/iPad) or right-click it (Mac):


- Edit Tab — rename the preset's tab or change its color.
- Reorder — the preset tabs start jiggling and each one grows a drag handle on its left edge. Drag a tab by that handle to move it. (Dragging anywhere else on the tab scrolls the strip instead, which is what lets you reach tabs that are off-screen.) Click the ✓ at the end of the strip when you're done — or press Esc, click the table, or just leave it a few minutes and it ends by itself.
- Delete — removes the preset and its saved setup, with a confirmation. You can delete any preset except the last remaining one.
If you delete the preset you're currently using, the table switches back to the default preset.
Switching Presets
Click any pill to switch — the whole table reconfigures instantly. With a hardware keyboard (Mac, or iPad with a keyboard):
| Shortcut | Action |
|---|---|
Ctrl+Tab |
Next preset (left to right, wraps to the first) |
Ctrl+Shift+Tab |
Previous preset (wraps to the last) |
Both also appear in the View menu as Next Preset and Previous Preset, enabled whenever the notebook has more than one preset.
Syncing
Presets sync across your own devices — the presets themselves, their colors, which one is selected, and whether the tabs are shown. Switch to your "Report" preset on your Mac and your iPhone follows.
In a shared notebook, presets are private to you. Other participants never see your presets, and each person organizes their own view of the shared data independently.
Searching
A search field lets you filter the table by text. Type any text and the table narrows to notes that contain a match in any field value. The search is case-insensitive.
On Mac and iPad it sits at the top of the table, in the action bar. On iPhone (and iPad in Split View) it's in the floating bar at the bottom of the screen, between the view-options and compose buttons.
Search and filters work together. If both are active, notes must match the search text and pass all filters.
Clear the search by clicking the X button or deleting the text.
Column Visibility
Not every field needs to be visible in the table. Click the column visibility icon (three vertical columns) in the toolbar to open the column picker.
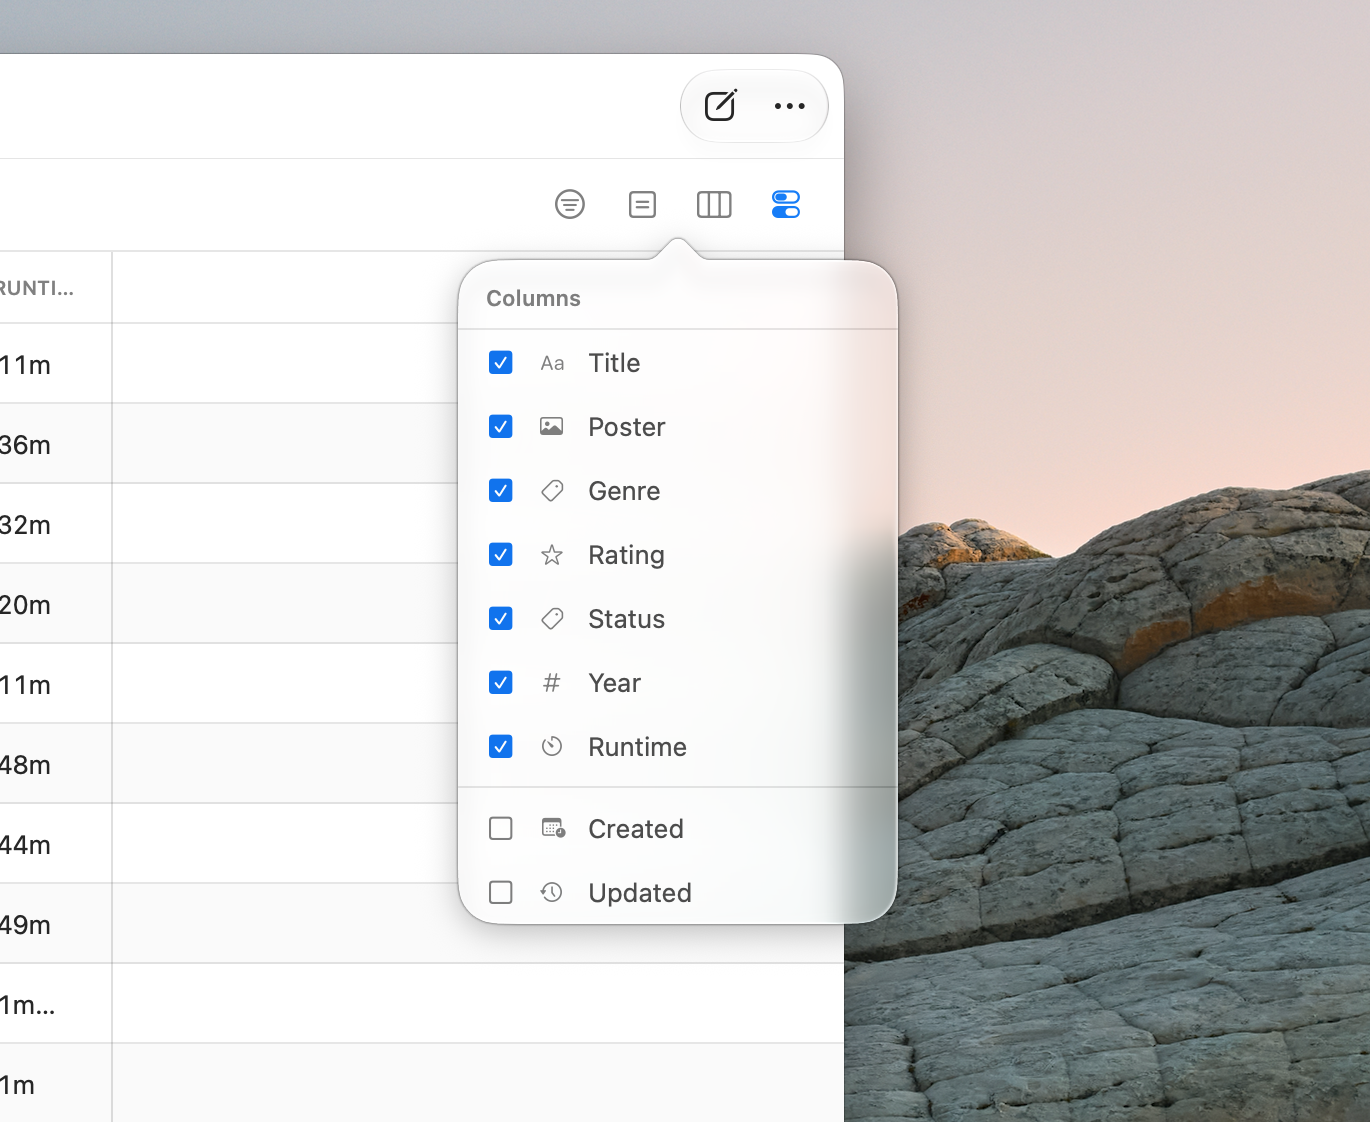
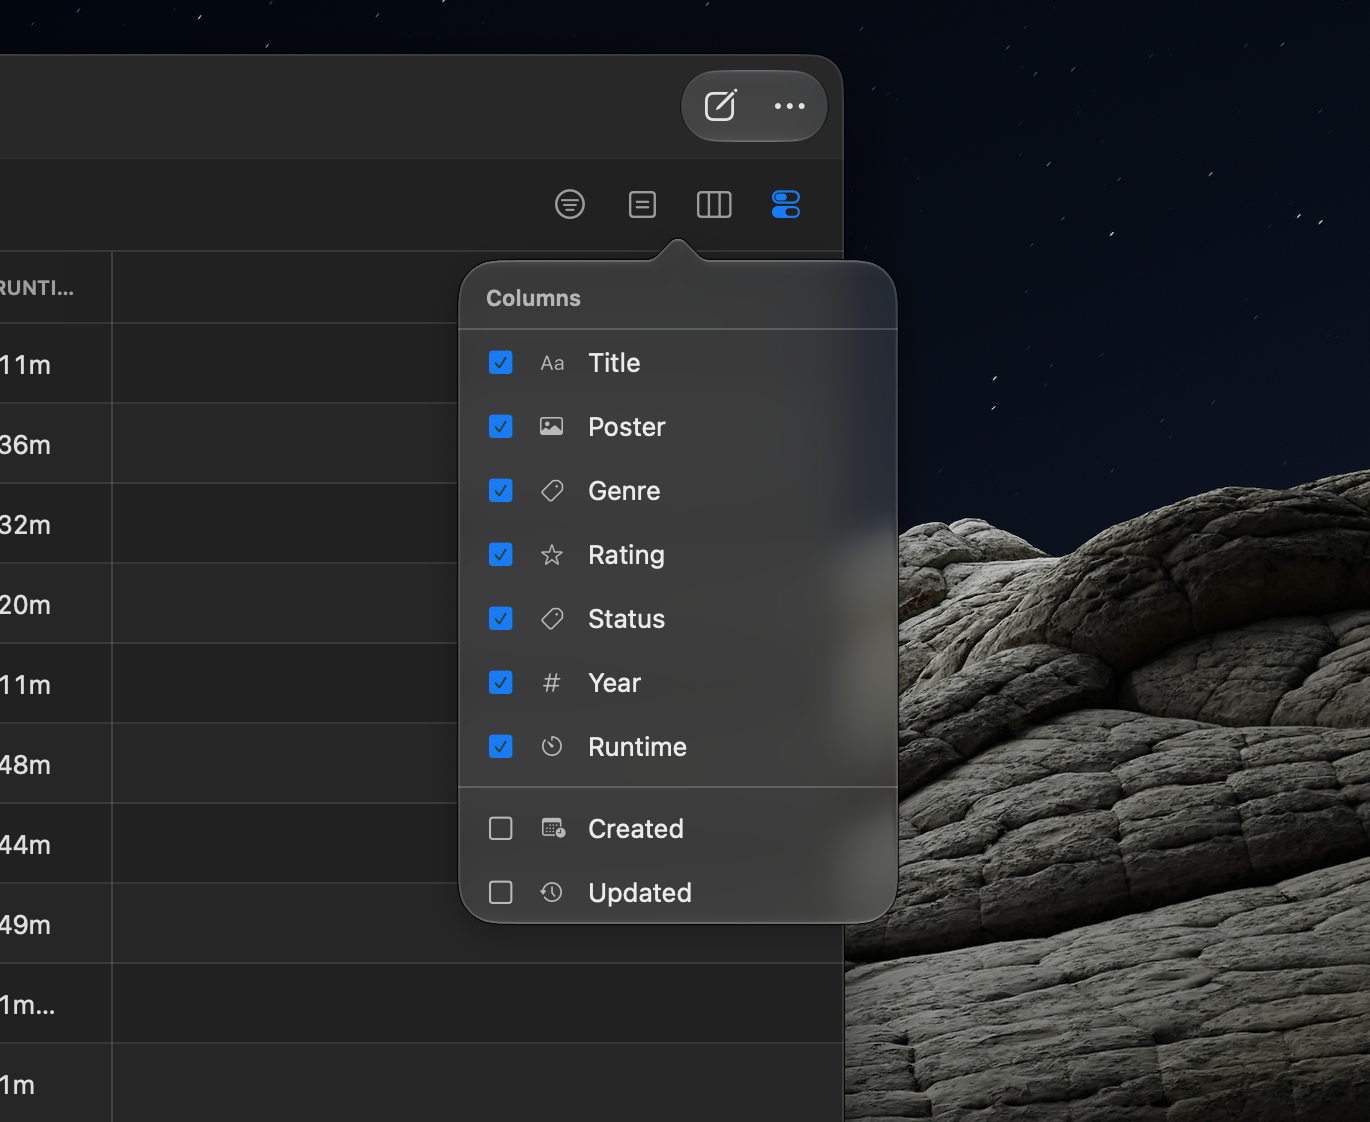
The picker shows:
- Field columns — Each field with a checkbox, its type icon, and its name. Uncheck a field to hide its column.
- System columns — Optional columns you can show or hide:
- Title — The note's custom title (only available when "Use first field as note title" is turned off in notebook settings).
- Created — When the note was created.
- Updated — When the note was last modified.
- Added by — Who created the note.
- Edited by — Who last changed it.
Added by and Edited by only appear on shared notebooks, where more than one person is writing. A notebook that has never been shared doesn't offer them, since they could only ever be blank.
System columns appear after your field columns. You must always have at least one visible column.
Hidden columns are saved to the active preset.
Row Height
By default, text in table cells is truncated to a single line. You can expand rows to show more content via Row Height inside the View Options menu (the last button in the action bar).
Pick one of three options:
| Option | Lines | Best for |
|---|---|---|
| Short | 1 line | Compact view, scanning many rows quickly (default) |
| Medium | 2 lines | Seeing a bit more context without expanding too much |
| Tall | 4 lines | Reading longer text like descriptions or notes |
Row height only affects fields whose values can run long:
- Affected — Short Text, Long Text, Email, Phone, URL, Secret (once revealed), Barcode, QR Code, Select, Reference, Formula, and the Title column.
- Never affected — Number, Currency, Rating, Date, Duration, Percent, Color, and Tags. These are short or fixed-height by nature, so they always sit on one line.
Your row height preference is saved to the active preset.
View Options
The view options button (the last icon in the table's action bar, with two small switches) holds display settings for the table: the Footer Row and Row Numbers toggles, and the Row Height picker (see Row Height). On iPhone, the same items live in the view options button at the left of the floating bottom bar. The icon is tinted when any option is changed from its default.
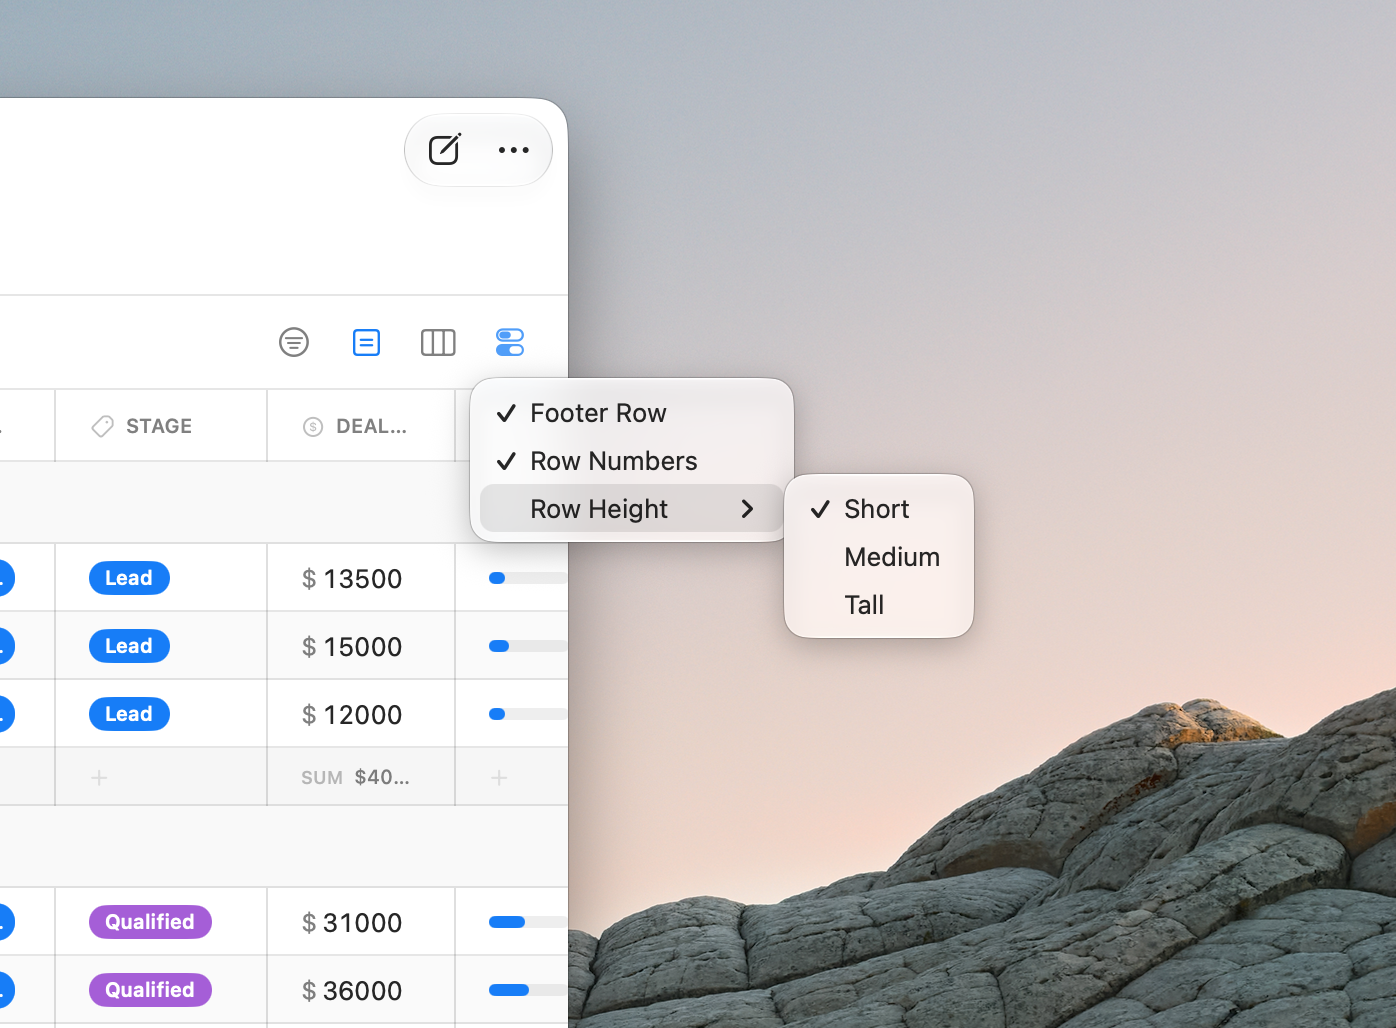
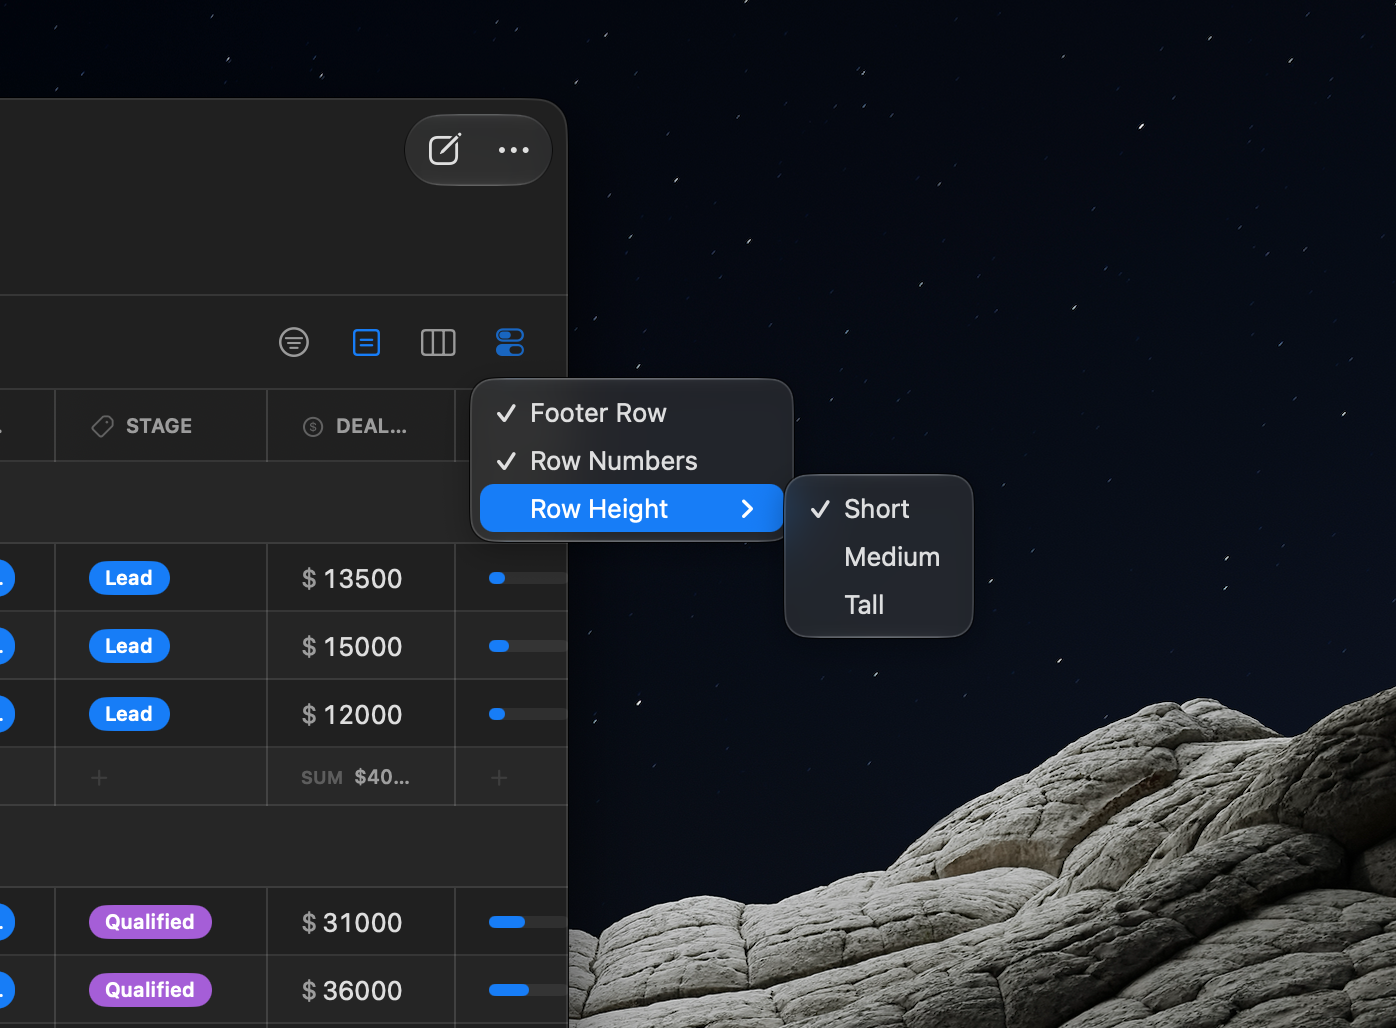
All of these settings are saved to the active preset.
Footer Row
Turn on Footer Row to add a summary row at the bottom of the table. Each column's footer cell is clickable — click it to pick a calculation for that column, or None to leave it blank. Cells without a calculation show a faint +.


The available calculations depend on the column's field type:
| Field type | Calculations |
|---|---|
| Number, Currency, Duration, Percent, Formula | Sum, Average, Median, Min, Max, Range, Filled, Empty |
| Rating | Average, Min, Max, Filled |
| Toggle | Checked, Unchecked, % Checked |
| Checklist | Done (items done / total), Filled, Empty |
| Date | Earliest, Latest, Filled, Empty, % Filled |
| Text fields, Tags, Select, Color, Barcode, QR Code | Filled, Empty, % Filled, Unique |
| Reference | Filled, Empty, % Filled, Unique |
| Tags (additionally) | Progress — a progress bar toward a tag you choose |
| Title (system) | Filled, Empty, Unique |
| Created / Updated (system) | Earliest, Latest |
| Added by / Edited by (system) | Filled, Empty, Unique |
For Reference columns, Unique counts distinct linked notes across the visible rows — a cell linking three notes contributes three — while Filled and Empty count stored links whether or not they currently resolve.
A few details worth knowing:
- The footer counts what you see. Calculations run over the currently visible notes — if a search or filters are active, the footer reflects the narrowed set.
- With Group By active, each group gets its own footer row at the end of its section, calculated over just that group's notes. Collapsing a group hides its footer along with its rows.
- Empty cells are excluded from Sum, Average, Min, Max, and the other numeric calculations (the Empty calculation counts them instead). Formula errors are skipped too.
- Currency results use the field's currency symbol, and Duration results format as time (e.g., "2h 30m").
Progress Bars for Tags
Tag columns get an extra option: Progress. Pick it and choose which tag counts toward progress — the footer cell then shows a progress bar with the percentage of notes carrying that tag.
For example, if your tasks have a Status tag field, choosing Progress → Done shows how much of your list is complete. With Group By active, each group's footer shows its own progress — handy for per-project completion at a glance.
Row Numbers
Turn off Row Numbers to hide the # column on the left, giving your data a little more room.
Note that row selection (clicking a row number), the row-number context menu, and double-click-to-open (Mac) are unavailable while row numbers are hidden. You can still open a note from any cell's right-click menu or by pressing Enter.
Resizing Columns
Drag the border between any two column headers to resize. A resize cursor appears when you hover over the border on Mac.
Columns have a minimum width of 60 pixels. Your custom widths are saved to the active preset.
When you show a previously hidden column or add a new field, it gets a proportional default width based on its type. Text fields get more space, toggles get less.
Reordering Columns
Drag any column header left or right to move it to a new position. A colored indicator shows where the column will land.
This only changes the column order in the table. The field order in Notes view is independent and stays the same.
System columns (Title, Created, Updated) always stay at the end and cannot be reordered.
Row Selection
Click the row number (the # column on the left) to select an entire row. The row highlights in blue.
On Mac, hold Shift and click another row number to select a range of rows.
Click the same row number again to deselect it. Clicking a cell in the table also clears the row selection.
Opening a Note
You can open a note's full detail view directly from the table. This lets you see and edit all fields — including ones you can only read in the table, like Comments and Color — without switching to Notes view.
There are three ways to open a note:
- Right-click the row number and choose Open Note from the context menu.
- Select a row (click the row number) and press Enter.
- Double-click the row number (Mac only).
On Mac, the note opens in a separate window. You can keep the window open alongside the table and edits sync between them in real time. The window title shows the notebook name and note name. If you quit and relaunch the app, the window reopens automatically.
On iPhone and iPad, the note opens as a sheet that slides up from the bottom. Swipe down or tap outside to dismiss.
The detail view in this mode is focused on editing values — field management controls (the ⋯ (More) menu per field, drag to reorder fields, and the "Add Field" button) are hidden. To manage fields, choose ⋯ (More) → Edit Fields.
Context Menu
Right-click any cell to open the context menu. It includes:
- Open Note — Opens the note's full detail view (see Opening a Note above).
- Clear Value — Removes the value from this cell.
- Copy — Copies the cell's value to the clipboard.
- Paste — Pastes clipboard text into this cell.
- Duplicate Row — Creates a copy of the entire note.
- Delete Row — Deletes the note (with confirmation).
- Delete Column — Deletes this field from the entire notebook (with confirmation). This removes the column and all its data from every note.
Right-click a row number to get the same menu with Open Note at the top.
Keyboard Shortcuts (Table View)
The table view supports full keyboard navigation on Mac, and on iPad with a hardware keyboard attached. On iPhone, use touch for all of these actions.
Navigation
| Shortcut | Action |
|---|---|
↑ / ↓ |
Move to the previous or next row. When a cell is selected, moves to the same column in the adjacent row. If nothing is selected, ↓ selects the first row and ↑ selects the last row. |
← / → |
Move to the previous or next cell within a row. Wraps to the adjacent row at row boundaries. When a row is selected, ← selects the first cell and → selects the last cell. Does nothing at the very first or last cell of the table. |
Tab |
Move to the next cell. Wraps to the first cell of the next row at the end of a row. At the last cell of the last row, wraps back to the first cell of the first row. Also works while editing — confirms the edit and moves to the next cell. |
Shift+Tab |
Move to the previous cell. Wraps to the last cell of the previous row at the start of a row. At the first cell of the first row, wraps to the last cell of the last row. Also works while editing. |
Cmd+↑ |
Jump to the first row (same column). |
Cmd+↓ |
Jump to the last row (same column). |
Ctrl+Tab |
Switch to the next preset, left to right, wrapping back to the first. |
Ctrl+Shift+Tab |
Switch to the previous preset, wrapping to the last. |
Selection
| Shortcut | Action |
|---|---|
Shift+↑ / Shift+↓ |
Extend the selection by one row up or down. |
Cmd+Shift+↑ |
Select all rows from the current row to the first row. |
Cmd+Shift+↓ |
Select all rows from the current row to the last row. |
Cmd+A |
Select all rows. |
Editing
| Shortcut | Action |
|---|---|
Enter |
Start editing the selected cell. Text and number cells switch to an input; Tags, Select, Reference, Checklist, Date, and multi-link URL cells open their picker. When a row is selected, opens the note's full detail view. When already editing, confirms the edit and moves down one row. On the last row, pressing Enter while editing creates a new note. |
Space |
Toggle a Toggle field on or off (when the cell is selected but not in edit mode). |
Escape |
If editing, stop editing but keep the cell selected. If a cell or row is selected, deselect it. Pressing Escape multiple times progressively deselects: editing → cell selected → nothing selected. |
Actions
| Shortcut | Action |
|---|---|
Delete |
Clear the selected cell's value. If one or more rows are selected, delete them (with a confirmation dialog). |
Cmd+C |
Copy the selected cell's value. If rows are selected, copy all rows as tab-separated text (with a header row of field names). |
Cmd+V |
Paste clipboard text into the selected cell. Works with text-based fields (Short Text, Long Text, Email, Phone, URL, Number, Currency, Color, Barcode, QR Code, Duration, Percent, and Secret when revealed). Read-only fields like Formula and Image are not affected. |
Creating and Deleting Notes
Creating a Note
Click the compose button — in the toolbar on Mac and iPad, in the bottom bar on iPhone — or press Cmd+N on Mac. A new row appears at the top of the table, ready for editing.
Deleting a Note
Right-click any cell and choose Delete Row, or select a row by clicking its row number and press Delete. A confirmation dialog appears before the note is permanently deleted.